Dark growth on wood is often called “black mold,” but colour cannot identify a species or determine health risk. The practical response is the same: control exposure, find and stop the moisture, define the extent, decide whether the material can be cleaned and dried, and bring in qualified help when the area or conditions exceed a small controlled cleanup.
ASM Mold Removal’s frozen site profile presents mould inspection, removal and remediation, including wood framing and attic contexts. Confirm its current credentials, service area, methods, products, warranty terms and pricing through the owned contact route; this article does not verify those claims or promise an outcome.
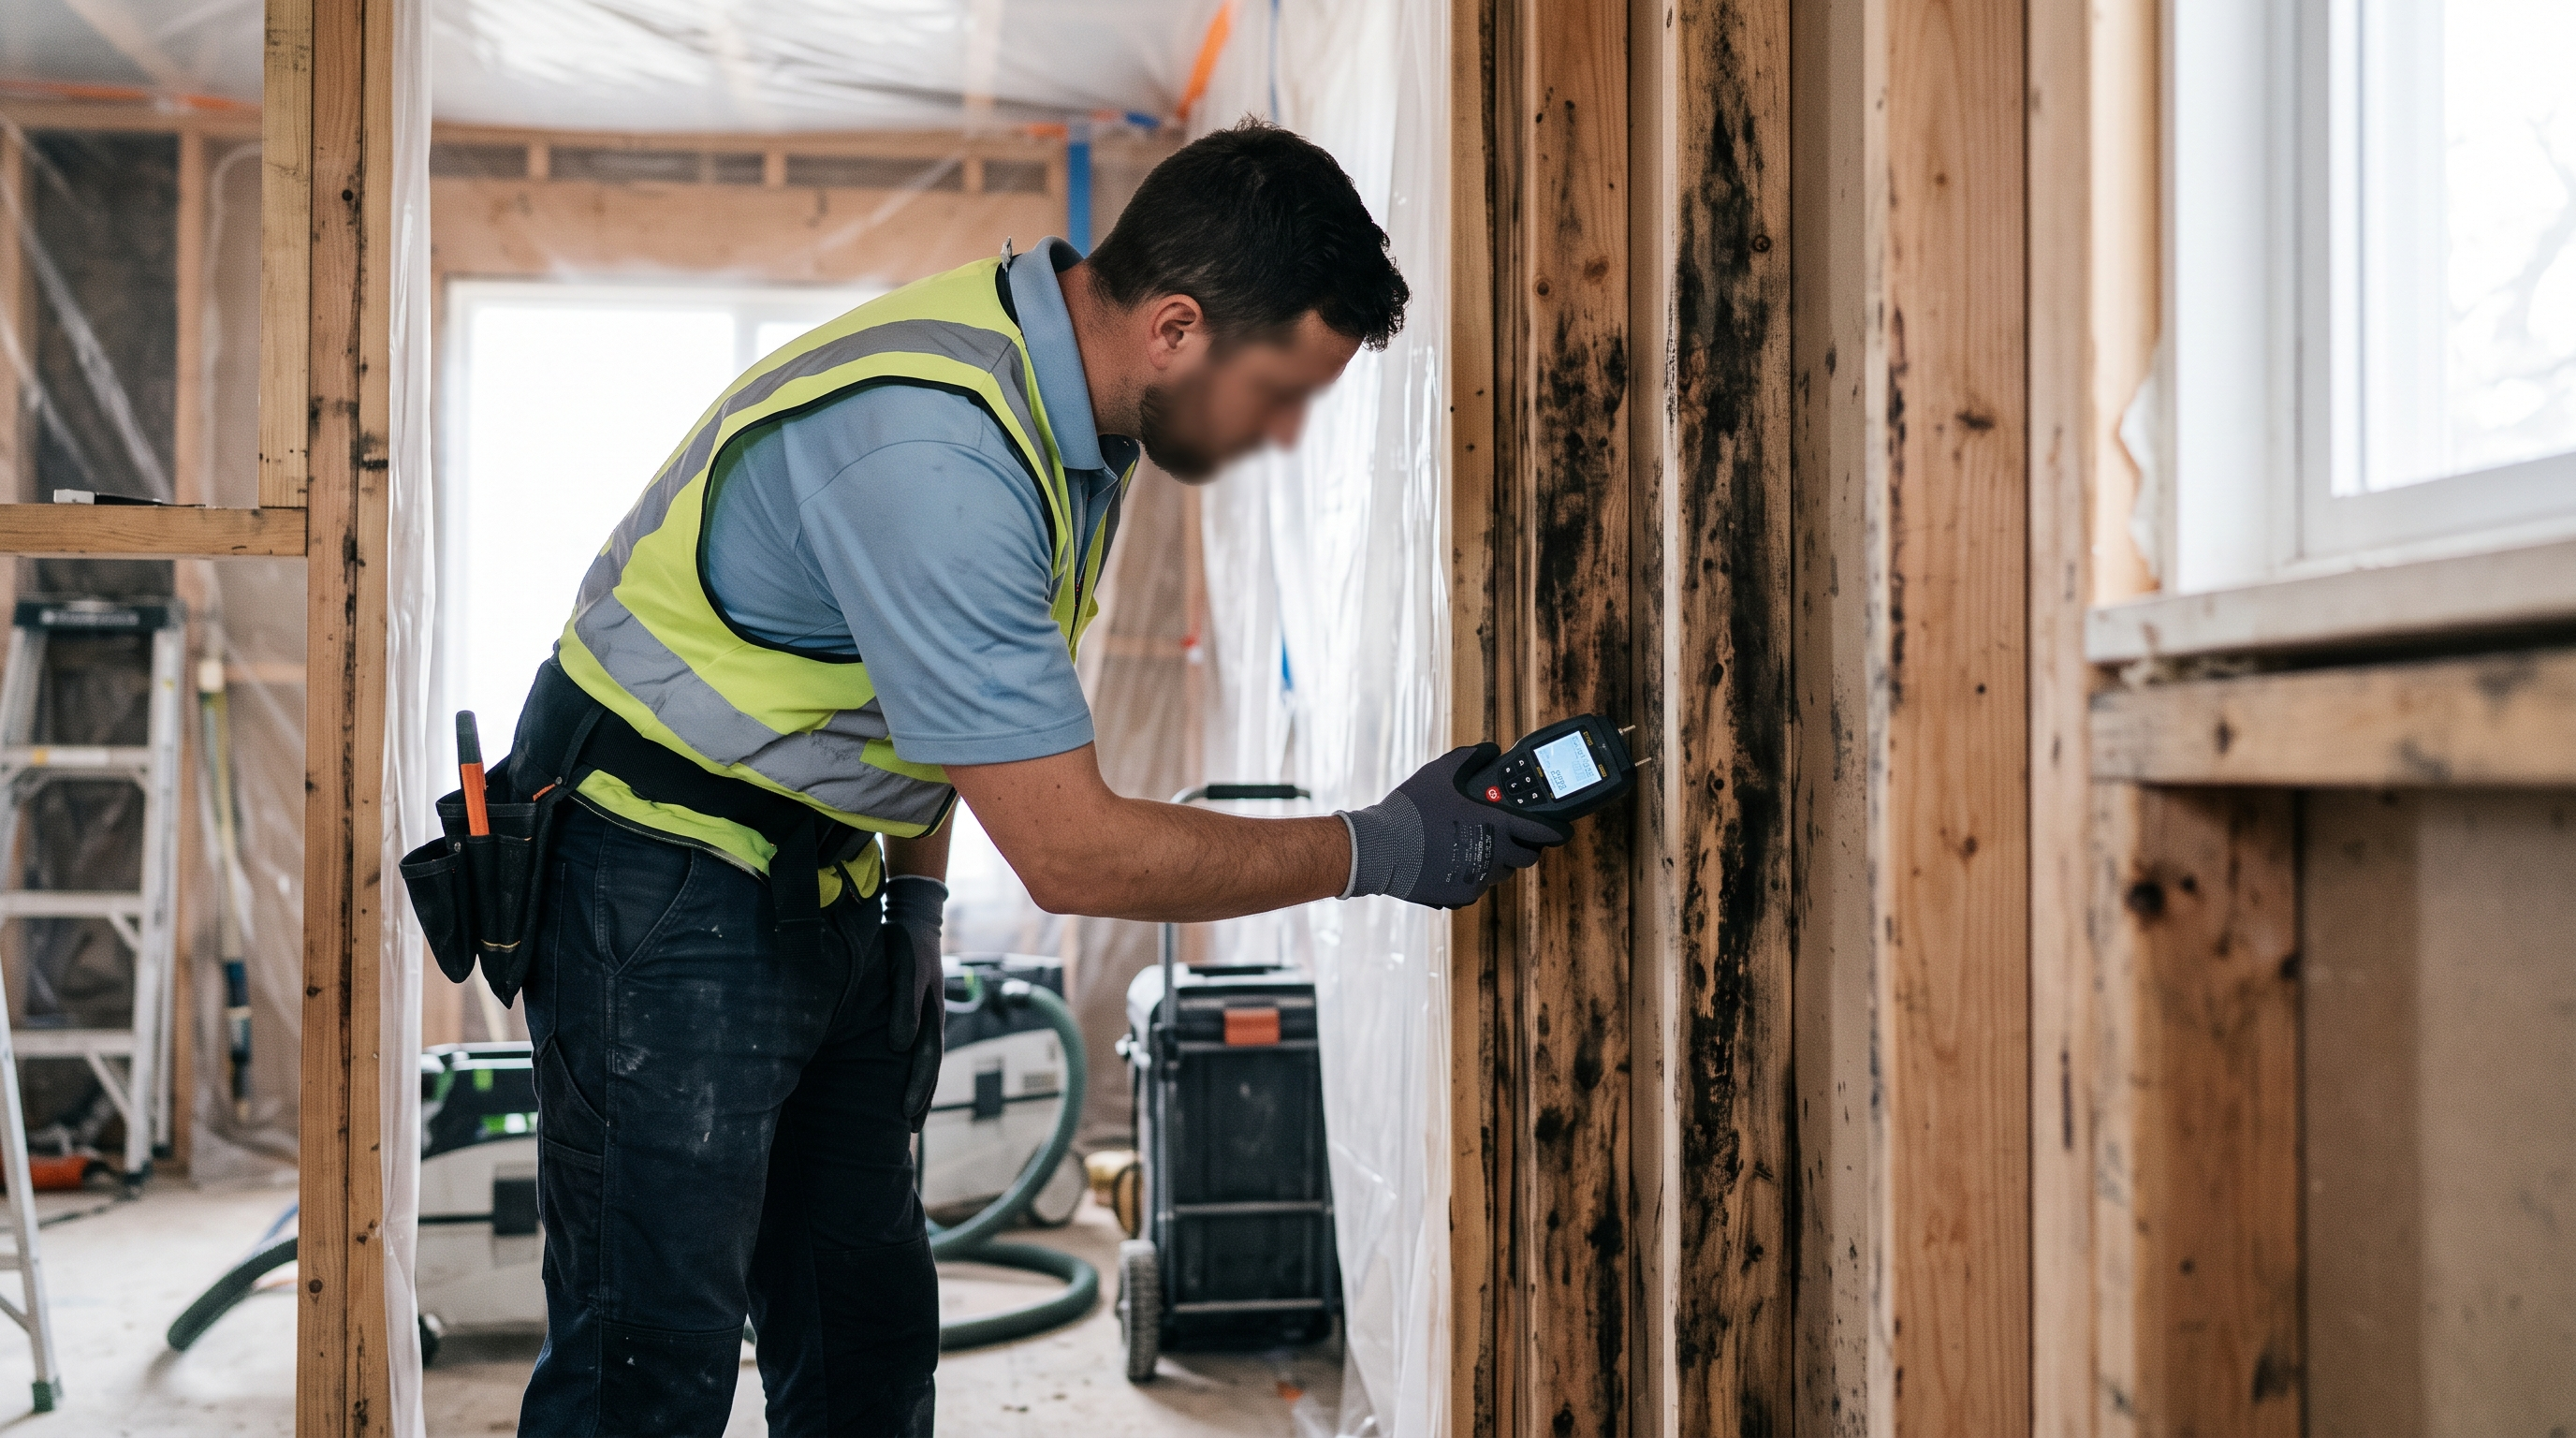
- Stop before disturbing
- Find moisture
- Define extent
- Prepare safely
- Clean a small area
- Dry and verify
- Clean or replace
- Mistakes
- FAQs
Step 1 stops unsafe disturbance
Keep people and pets away from the affected area. Do not dry-brush, sand, grind or use compressed air on visible growth; these actions can spread dust and spores. Do not mix cleaning chemicals. If the area is in an attic, crawlspace or wall cavity, also consider fall, electrical, heat, confined-space, asbestos and structural hazards.
Step 2 finds and stops the moisture source
Health Canada’s moisture and mould guide explains that materials such as wood become a problem when damp or wet and recommends controlling dampness and cleaning visible mould regardless of type. Without moisture control, surface treatment is temporary.
| Location | Possible moisture route to investigate | Qualified follow-up |
|---|---|---|
| Attic sheathing | Roof leak, flashing, indoor air leakage, disconnected exhaust, blocked ventilation | Roofer, HVAC/building professional or remediation specialist |
| Basement framing | Foundation seepage, condensation, plumbing leak, high humidity | Building-envelope, plumbing or drainage professional |
| Window or exterior wall | Failed seal, flashing, cladding or cold-surface condensation | Window/building-envelope professional |
| Under sink or around bath | Supply, drain, fixture or seal failure | Plumber and repair professional |
Document when the area is wet—after rain, cold weather, bathing or plumbing use. Moisture meters and thermal cameras can support investigation but do not identify species or see through every material.
Step 3 defines the real cleanup boundary
Measure the visible area without touching it and inspect adjacent surfaces from safe access. Look behind removable belongings only if doing so will not disturb contaminated material. A small patch can be the visible edge of a larger concealed problem; staining alone can also be historic.
Health Canada categorizes cleanup decisions by extent and recurrence and advises professional help for large contamination or where cleanup repeatedly fails. Use its current decision chart, not an arbitrary social-media square-foot rule. Record photos, affected materials, moisture readings where competently obtained and the date.
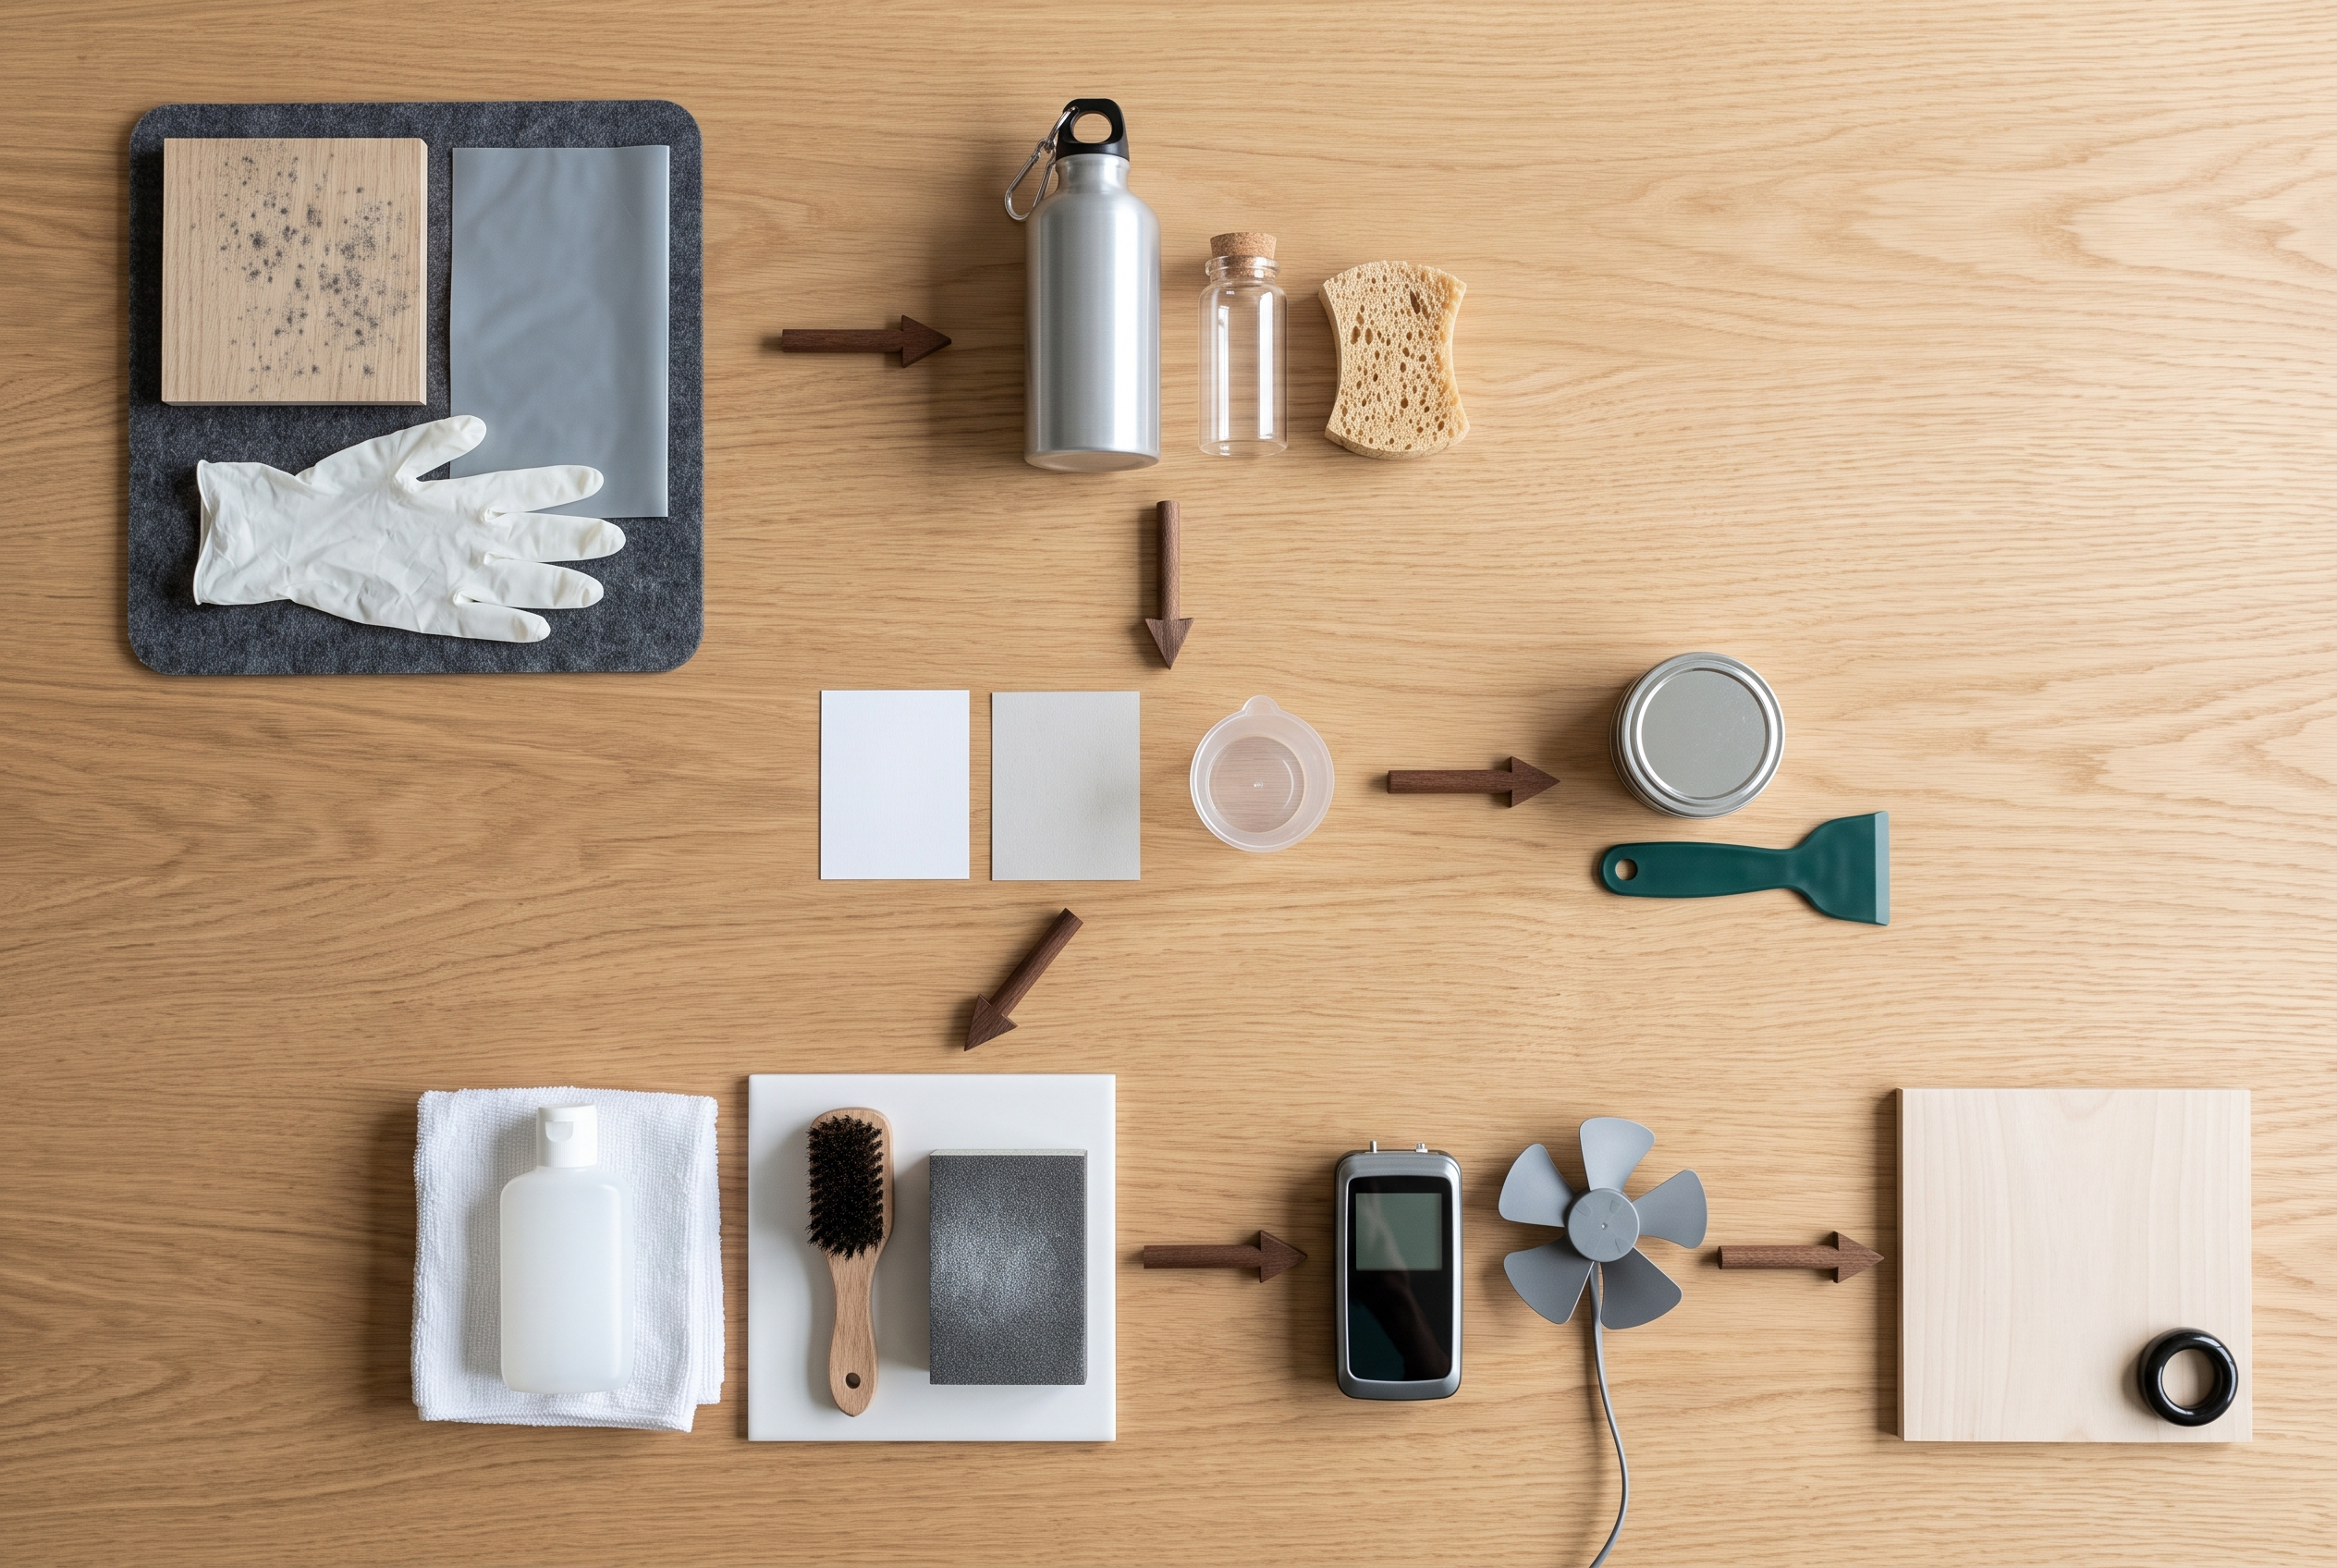
Step 4 prepares a small controlled cleanup
Follow Health Canada’s current personal-protective-equipment and preparation guidance. At minimum, the plan must prevent spread to clean areas, protect skin and eyes, reduce inhalation exposure and provide a safe waste route. People with asthma, allergies, immune compromise or other health concerns should not perform cleanup without medical and professional guidance.
- Remove unaffected movable items from the work area where safe.
- Protect nearby clean surfaces.
- Arrange ventilation only if it will not distribute contamination through the home.
- Prepare bags or containers for disposable debris.
- Use tools that can be cleaned or discarded.
- Have the moisture repair underway before cosmetic finishing.
Do not rely on odour, paint or encapsulation to solve active moisture and growth.
Step 5 cleans only a suitable small wood area
For a genuinely small, accessible area on sound wood, follow the current Health Canada method: clean the surface using an appropriate unscented soap or detergent solution as directed, with controlled physical wiping or scrubbing, then remove residue and dry promptly. Follow product labels. Never mix bleach, ammonia or other cleaners, and do not assume a stronger chemical produces a safer result.
Avoid saturating the wood. Work from the controlled area toward the visible boundary without spreading debris. Bag disposable materials before carrying them through clean space. If the growth extends, wood softens, contamination cannot be removed, or odour and moisture persist, stop and reassess professionally.
Step 6 dries, verifies and monitors
Drying is part of remediation. Confirm that the source is repaired and that the wood and surrounding materials have returned to an appropriate dry condition before insulation, drywall, paint or storage covers the area. The correct target and measurement method depend on the assembly and material; a qualified professional should interpret readings.
- Photograph the cleaned, dry area.
- Record the moisture-source repair and date.
- Check adjacent materials and the space below or above.
- Reinspect after the next relevant rain, cold spell or humidity event.
- Investigate any renewed growth, odour or dampness rather than recoating it.
- Keep health symptoms separate from building verification and discuss them with a clinician.
Routine air testing is not always the first step when visible mould and moisture are evident. Use testing only when a qualified professional explains the decision it will change and how results will be interpreted.
Step 7 decides whether wood can remain
Sound structural wood with limited surface growth may sometimes be cleaned after moisture correction. Wood that is rotted, delaminated, deeply contaminated, inaccessible or unable to dry may need removal or repair. Structural members should not be cut or replaced without appropriate engineering, building and permit guidance.
Porous finishes, insulation and adjacent materials may have different cleanability. Treat the assembly, not only the visible board. Ask a remediation proposal to distinguish removal, cleaning, drying, repairs, verification, exclusions and prevention.
Common treatment mistakes
- Calling dark growth toxic black mould from colour alone.
- Spraying before stopping the moisture source.
- Dry sanding or brushing contaminated wood.
- Mixing cleaning chemicals.
- Painting or encapsulating damp, active growth.
- Cleaning visible wood while ignoring wet insulation or cavities.
- Replacing structural wood without qualified review.
- Assuming odour removal proves remediation.
- Guaranteeing health outcomes from building work.
Frequently asked questions
Can black mould on wood be cleaned?
Some limited surface growth on sound, accessible wood may be cleanable after moisture correction. Extent, porosity, deterioration and hidden spread determine whether professional cleaning or replacement is needed.
Does bleach kill mould on wood?
Do not make bleach the default or mix chemicals. Follow Health Canada’s current guidance and product labels; moisture correction and physical removal are central.
How can I identify black mould?
Colour cannot identify species. Health Canada recommends addressing visible mould regardless of type. Testing should be tied to a defined professional question.
When should I call a professional?
For large, recurrent, hidden, HVAC, sewage, structural, unsafe-access or vulnerable-occupant situations, or whenever the source and extent are uncertain.
End treatment only when the moisture story is resolved
A clean-looking board is not the finish line. The work is complete only when the moisture source, affected materials, drying, repairs and monitoring plan are addressed within a defensible scope.
Sources reviewed
- ASM Mold Removal — first-party business context only.
- Health Canada moisture and mould guide.
- Health Canada indoor air contaminants.