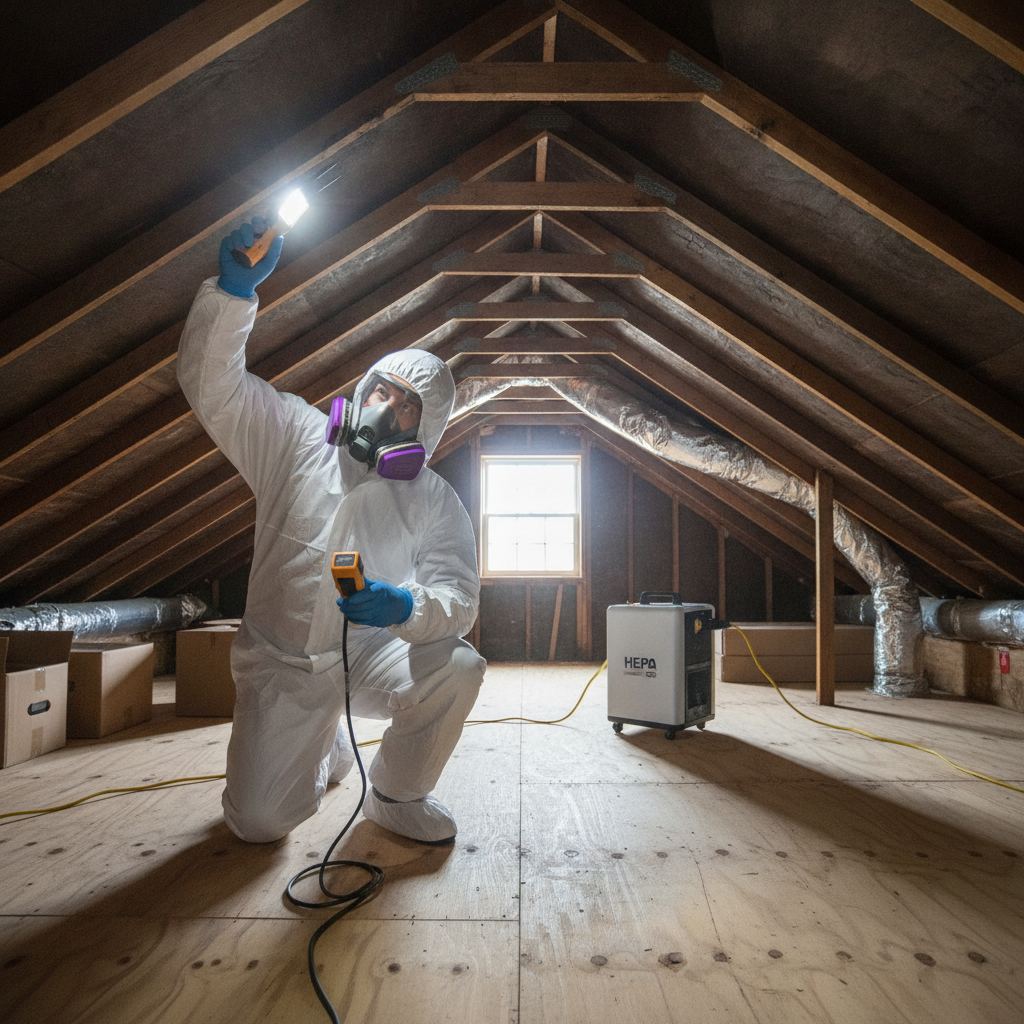
Toxic mold testing is the process of collecting air or surface samples and measuring moisture to confirm hidden mold and exposure risks. A reliable toxic mold test guides next steps—remediate now, monitor, or improve ventilation—so Scarborough homeowners avoid recurring problems and protect health and property.
By Asmmoldremoval · Last updated: 2026-07-06
Quick Summary and Table of Contents
This complete guide explains what a toxic mold test is, when you need one, how sampling works, and how to interpret results. You’ll learn DIY versus professional options, best practices, tools, and local Scarborough considerations—plus exactly when to call ASM Mold Removal Inc. for certified inspection and remediation.
Here’s what you’ll find below at a glance. Use this table of contents to jump to the right section.
- What is a toxic mold test?
- Why testing matters
- How a toxic mold test works
- Types and methods
- Best practices
- Tools and resources
- Case studies and examples
- DIY vs. professional testing (comparison)
- FAQ
- Conclusion and next steps
What is a toxic mold test?
A toxic mold test identifies mold species and the conditions that help them grow. It uses air and surface sampling, plus moisture diagnostics, to confirm hidden growth and exposure risks. Results inform remediation priorities, ventilation upgrades, and prevention steps for healthier indoor air and safer buildings.
At its core, a toxic mold test verifies two things: whether mold is present and whether your indoor conditions are feeding it. Many homes show growth after a leak or condensation problem. Mold can colonize drywall paper, attic sheathing, and framing where moisture lingers for 24–48 hours.
In our inspections, we pair moisture readings with targeted sampling only when it changes decisions. If visible mold is confirmed, remediation usually proceeds without delay. Testing becomes crucial for hidden sources, clearance after cleanup, or documentation for real estate and workplace requirements.
Why toxic mold testing matters
Testing matters because it prevents guesswork. It pinpoints hidden growth, validates remediation success, and documents indoor air quality for buyers, sellers, and employers. Timely testing reduces health risks, prevents rework, and supports long-term moisture control and ventilation improvements.
Here’s the thing: seeing mold is enough to act, but testing adds precision when you need to locate concealed sources, check HVAC impacts, or prove a space is back to baseline. Homes with chronic humidity over 60% often see recurrent growth until moisture is controlled.
- Hidden sources: Elevated spore counts in a clean-looking room can flag mold behind walls, under floors, or in an attic.
- Clearance confidence: Post-remediation sampling confirms conditions match or beat outdoor reference air, reducing callbacks and disputes.
- Real estate assurance: Reports and photo evidence help transactions move forward with documented, warrantied outcomes.
For Scarborough families and local businesses, testing ties directly to prevention. When moisture readings, humidity logs, and targeted samples agree, we can solve the root cause—ventilation, insulation, or drainage—so problems don’t return.
How a Toxic Mold Test Works (Step-by-Step)
A thorough toxic mold test sequences: intake interview, visual inspection, moisture mapping, targeted air/surface sampling, and lab analysis. Clear criteria guide sample locations and volumes. A written report then aligns findings with remediation, ventilation, and prevention steps you can act on.
A professional process removes guesswork. We start with a short intake to map leaks, odors, or recent water events. Then we inspect attics, basements, bathrooms, and HVAC returns. Moisture meters and thermal imaging locate damp materials. Only then do we take samples, because testing without context creates noise.
- Intake and history: note leaks, flooding, humidity readings, musty odors, and occupant symptoms.
- Visual inspection: check staining, efflorescence, condensation points, and ventilation paths.
- Moisture diagnostics: measure materials; 16–20% wood moisture often signals risk in attics and crawl spaces.
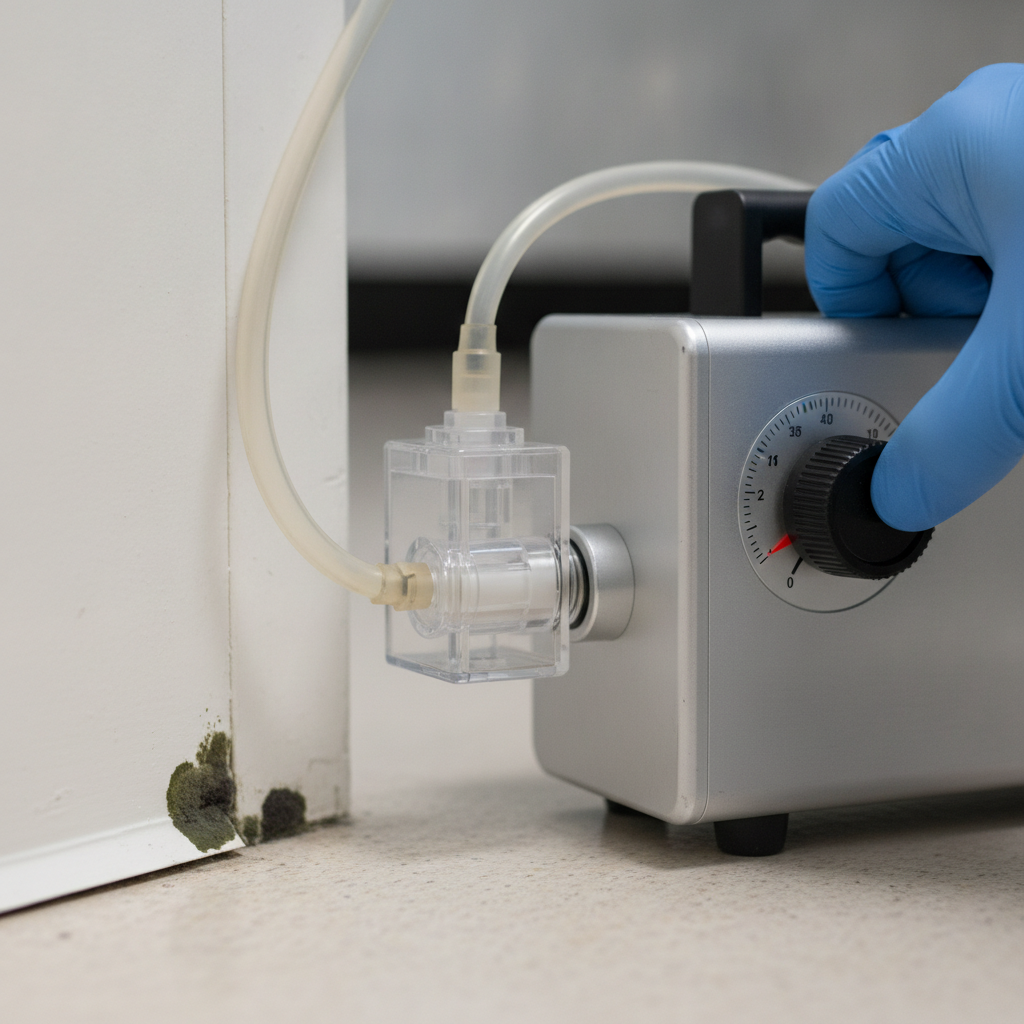
- Targeted sampling: air cassettes (typically 75–150 liters total volume) and surface lifts/swabs on suspect areas.
- Lab analysis: identify genera/species and relative concentrations to indoor/outdoor reference air.
- Report and plan: integrate findings into a remediation and prevention roadmap.
When results show amplification indoors relative to outside, we focus on both cleanup and causes: ventilation improvements, air sealing, or drying protocols to return humidity to 30–50%.
Types, Methods, and Approaches
Common toxic mold test methods include air sampling, surface lifts/swabs, dust-based DNA screens, and moisture/thermal imaging. Used together, they confirm whether mold is active, where it likely originates, and whether cleanup returned the space to normal fungal ecology.
Air sampling (spore trap cassettes)
Air sampling captures airborne spores over a defined time and flow rate (often 5 minutes at 15 L/min). We collect an outdoor reference and compare it with indoor rooms. Higher indoor counts of water-indicator species point to active growth and poor containment or ventilation.
- When to use: odors with no visible growth, clearance after remediation, or occupant sensitivities.
- Signals to watch: indoor spore types or totals consistently above outdoor control, especially heavy Stachybotrys/Chaetomium indicators.
- Limits: snapshots can miss intermittent issues; pair with moisture findings.
Surface sampling (tape lifts and swabs)
Surface lifts/tape and swabs confirm if discoloration is mold and which species are present. This is ideal for attic sheathing, drywall paper, or baseboards. A single positive surface sample plus wet materials is enough to justify containment and HEPA filtration during cleanup.
- Best for: confirming suspect staining and documenting before/after results.
- Sampling notes: label and photograph locations; maintain chain of custody to the lab.
Dust-based DNA screens (ERMI-style)
Some homeowners request dust DNA panels to profile long-term mold ecology. These can reveal historical water events but are sensitive to cleaning habits and room usage. We reserve them for complex medical or legal cases where historical exposure patterns matter.
Mycotoxin screens
Environmental mycotoxin tests exist, but results can be difficult to interpret without parallel spore and moisture evidence. For building decisions, we prioritize locating and removing the source, then verifying normal fungal ecology with standard clearance sampling.
Moisture mapping and thermal imaging
Moisture meters, hygrometers, and thermal cameras often find the root cause faster than extra samples. A cold attic sheathing pattern may reveal missing insulation; a warm ceiling stripe can flag a bathroom exhaust leak. Fixing these prevents the next bloom.
HVAC and return-path checks
Return leaks and dirty coils can spread spores. If indoor counts spike when the system runs, we inspect the air handler, ducts, and filters. Post-cleaning, we retest to verify spores dropped and returns are sealed.
Clearance testing
After remediation under containment and negative pressure, clearance testing confirms success. We target formerly affected rooms and adjacent areas, comparing to outdoor air. Results should reflect normal ecology; if not, we adjust cleaning, filtration, or drying and recheck.
Best Practices That Make Testing Count
The best toxic mold testing is purpose-driven: sample only when results change decisions, always pair testing with moisture diagnostics, and document everything with photos, labels, and chain of custody. Set clear pass/fail criteria before sampling to avoid confusion later.
- Define the question first: hidden source, HVAC spread, or clearance? One clear objective leads to better sampling and fewer re-tests.
- Control variables: document weather, occupancy, and HVAC status; collect an outdoor reference for every air sample set.
- Use right volumes: too much or too little air skews counts; stay within cassette specifications.
- Pair with moisture: readings over 16% in wood or damp drywall justify containment even if one room tests “normal.”
- Prevent cross-contamination: change gloves, seal cassettes promptly, and store samples upright.
- Write clear criteria: e.g., “indoor rooms at or below outdoor reference; no water-indicator dominance.”
In our experience, this simple discipline halves the number of follow-up site visits. It keeps projects on schedule and avoids debates about borderline lab reports.
Tools and Resources We Trust
Reliable testing uses calibrated pumps, quality cassettes, moisture meters, hygrometers, and thermal cameras. Pair instruments with certified inspectors and a defensible protocol. Your results should translate into a clear remediation and prevention plan—not a stack of confusing data.
- Sampling gear: calibrated pump, spore trap cassettes, sterile swabs, and tape lifts.
- Moisture tools: pin/pinless meters, thermo-hygrometer, and thermal imaging.
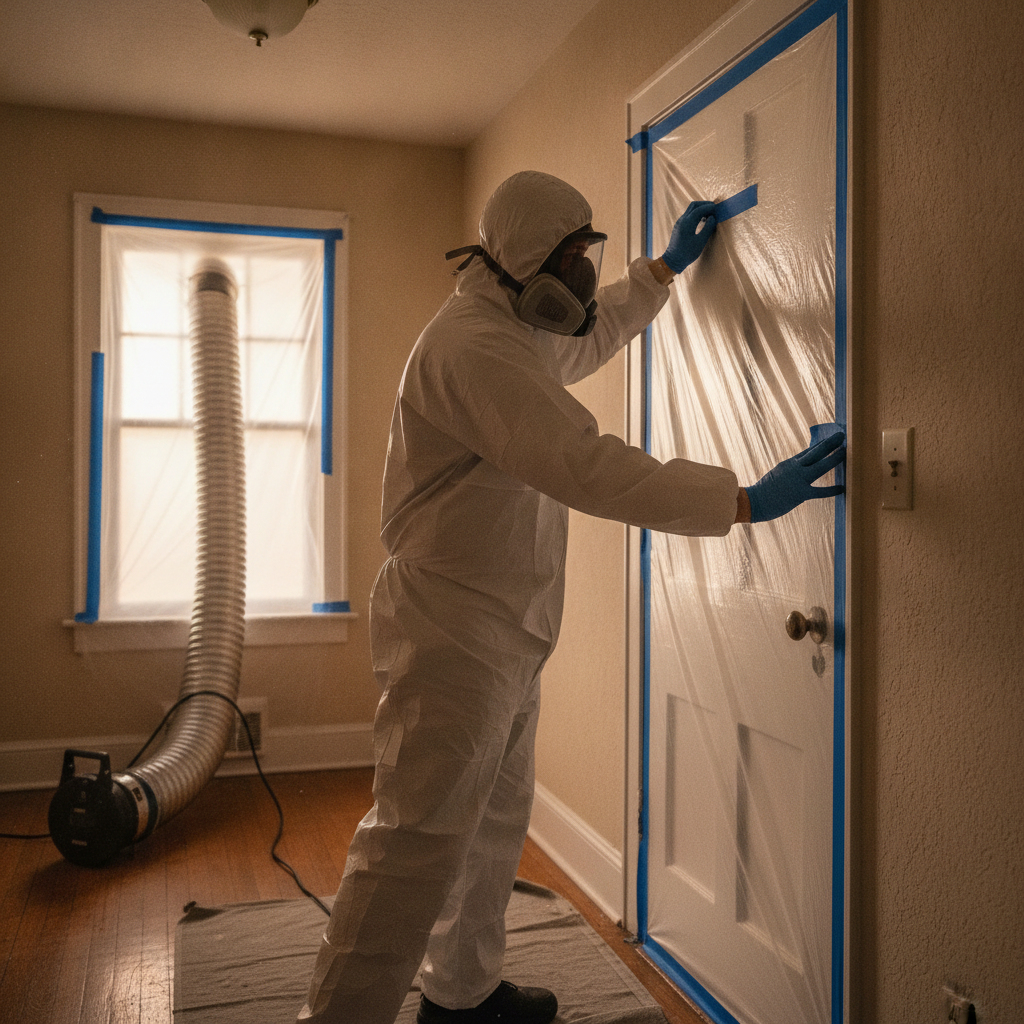
- Containment support: plastic sheeting, ZIP openings, negative air with HEPA filtration.
- PPE: respirator, gloves, and disposable coveralls for safe access.
For a certified inspection in Scarborough, start with our mold inspection & testing team. If your attic or basement is affected, our attic mold removal specialists and water damage restoration crews coordinate remediation and drying so you don’t juggle vendors. Learn how we work on our About page or contact us for same-day help across Ontario.
For general decision frameworks on environmental testing selection, industry articles like this overview on choosing a laboratory can help you think through certification and chain-of-custody basics: choose the right testing lab. Cleaning process walk-throughs published by regional services, such as this mould cleaning guide and a city-specific example, illustrate containment and safety steps that parallel mold remediation workflows.
Free same-day inspection (Scarborough): If you suspect hidden growth, book a certified assessment. We’ll map moisture, recommend targeted toxic mold tests only if needed, and outline a clear plan with a Mold Remediation Warranty Certificate after completion. Request your inspection.
Case Studies and Real-World Examples
These short case insights show how testing directs smart action: find the source, fix the moisture, confirm with clearance. Each example highlights the test types chosen, what the results meant, and how prevention kept mold from returning.
Scarborough attic after a roof leak
A homeowner noticed a faint musty odor upstairs after heavy rain. Moisture readings on rafters ranged 17–19%. Surface lifts on sheathing confirmed active growth. We established containment, HEPA filtration, and performed targeted removal and treatment. Post-remediation air samples aligned with outdoor reference, and humidity stabilized at 40–45% after ventilation tweaks.
Finished basement after sump overflow
An entertainment room with carpet and drywall showed no staining, but odor persisted. Air sampling captured elevated indoor counts compared to outside, with water-indicator species dominant. Infrared found a cold stripe near a wall—hidden damp drywall. Selective demo, drying, and cleaning followed. Clearance sampling returned to normal range, preventing repeated odor complaints.
Office suite with HVAC return leaks
Employees reported irritation when the system ran. We sampled during a system-on window and saw spikes in returns. Inspection found a return leak in a closet and dirty coils. After sealing and cleaning, retesting showed a marked drop and normal balance with outdoor air. The maintenance log now includes quarterly filter audits.
Local considerations for Scarborough
- Spring and fall swings can push indoor humidity above 60%. Use a hygrometer and dehumidification to keep 30–50% indoors and prevent attic/basement blooms.
- After storms, check roof penetrations and attic sheathing for 24–48 hours. Early drying prevents growth that would otherwise require containment.
- For real estate timelines, request testing and a written plan early. Coordinating inspection, remediation, and clearance avoids closing delays.
DIY vs. Professional Toxic Mold Testing
DIY kits can screen for problems, but professional testing provides defensible results, moisture diagnostics, and a remediation roadmap. If you need documentation for clearance, medical concerns, or a real estate transaction, certified professional testing is the reliable path.
| Aspect | DIY Kit | Professional Testing | Clearance Sampling |
|---|---|---|---|
| Purpose | Basic screening | Diagnosis + plan | Verify remediation success |
| Sampling control | Limited | Calibrated pumps, chain of custody | Targeted to treated zones |
| Moisture diagnostics | Rarely included | Standard: meters + thermal | Confirms materials are dry |
| Report quality | Generic | Actionable and specific | Pass/fail against criteria |
| When to choose | Initial curiosity | Hidden source, health concerns | Post-remediation proof |
If a DIY screen suggests a problem—or if odors persist—schedule a certified inspection. We’ll verify with targeted testing and convert findings into clear next steps.
Frequently Asked Questions
These quick answers address the questions we hear most. If you don’t see your scenario here, reach out for a same-day inspection and we’ll tailor guidance to your space and timeline.
Do I need a toxic mold test if I can already see mold?
Visible growth means remediation is warranted. Testing helps in special cases—hidden sources, HVAC concerns, medical sensitivities, clearance documentation, or real estate needs. We pair testing with moisture diagnostics to address the cause and prevent a repeat.
How long does professional mold testing take?
On-site inspection and sampling usually take 60–120 minutes for a typical home, depending on access and sample count. Lab turnaround commonly ranges from next day to several days. We’ll provide a written plan with prevention steps alongside results.
What results indicate a problem?
Indoors should match or be lower than outdoor reference air. Persistent indoor dominance of water-indicator species, or positive surface samples on wet materials, indicates a source. We use those findings to guide containment, HEPA filtration, and targeted removal.
Will a toxic mold test detect mycotoxins directly?
Standard spore and surface tests identify mold types and levels, not specific mycotoxins. Environmental mycotoxin screens exist but are best interpreted alongside moisture and spore data. Removing the moisture source and mold growth is the primary fix.
Conclusion and Next Steps
Use toxic mold tests when results change decisions. Pair sampling with moisture diagnostics, then act on findings through containment, HEPA filtration, and prevention. For Scarborough homes and businesses, ASM Mold Removal Inc. provides certified inspections, same-day response, and warranty-backed remediation.
Key takeaways
- Test with purpose; confirm with moisture mapping and outdoor references.
- Indoors should match or be below outdoor spore ecology after remediation.
- Keep humidity 30–50% and dry wet materials within 24–48 hours.
- Document everything—photos, labels, and chain of custody.
Action steps
- Notice odors or past leaks? Book a certified inspection and targeted toxic mold test if needed.
- Use a hygrometer; aim for 30–50% RH to disrupt mold growth.
- After cleanup, request clearance sampling to verify success.
Ready to move forward? Explore our process on the About page, or book a discovery visit in Scarborough today. Our team coordinates inspection, remediation, and documentation—including a Mold Remediation Warranty Certificate.