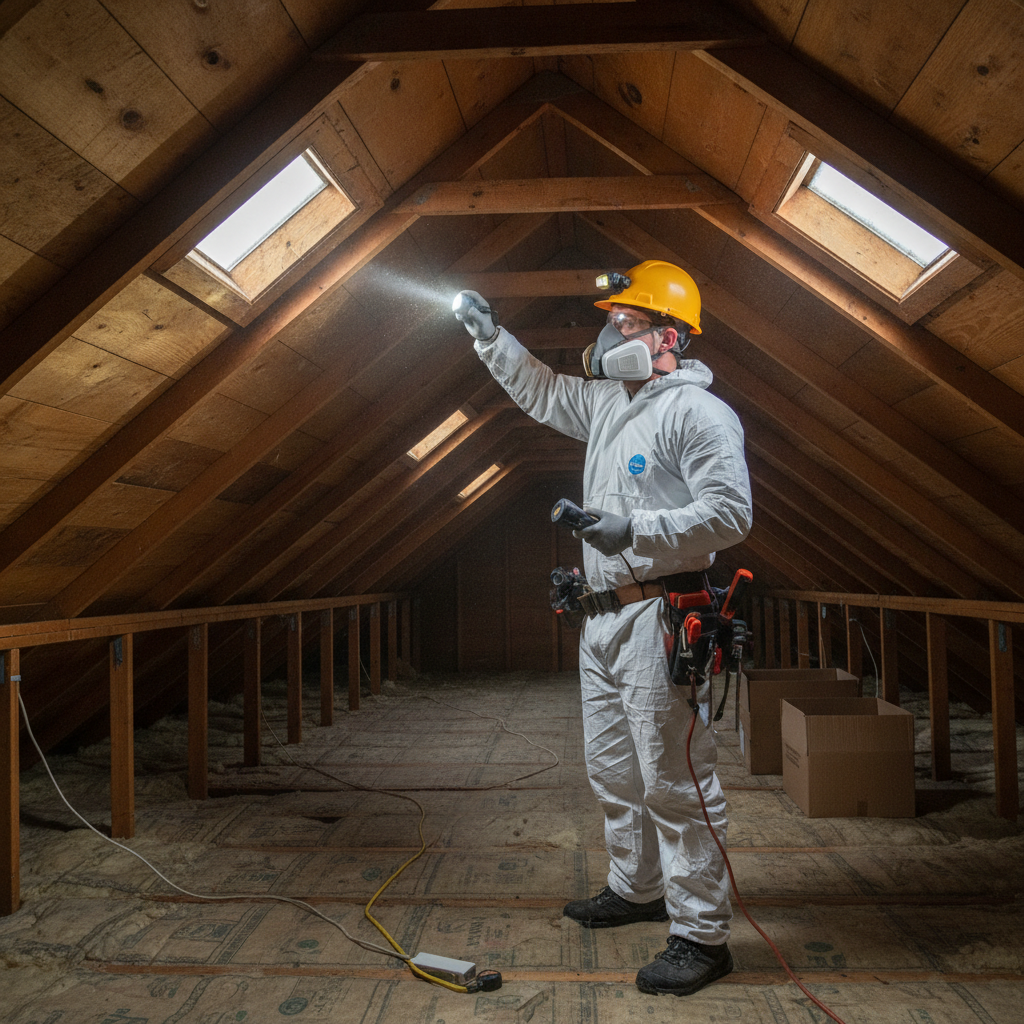
Mould detection is the systematic identification of indoor mold growth and the moisture sources that drive it using visual inspection, moisture mapping, thermal imaging, and selective lab testing. Done early, it protects air quality and structure. From our Scarborough, ON base at 1225 Kennedy Rd, we provide same-day assessments across Ontario to stop problems before they spread.
By Asmmoldremoval • Last updated: 2026-06-12
At a Glance
Effective mould detection blends quick visual checks with professional instruments to confirm growth and pinpoint moisture. The fastest wins come from spotting warning signs early, validating with meters and imaging, and acting on root-cause fixes so mold and musty odors don’t return.
- What mould detection is, and why timing matters for indoor air.
- How inspections, thermal imaging, and sampling work together.
- When air vs. surface testing makes sense—and when it doesn’t.
- Prevention steps for attics, basements, crawl spaces, and HVAC.
- Local guidance tied to Scarborough and Ontario seasons.
What is mould detection?
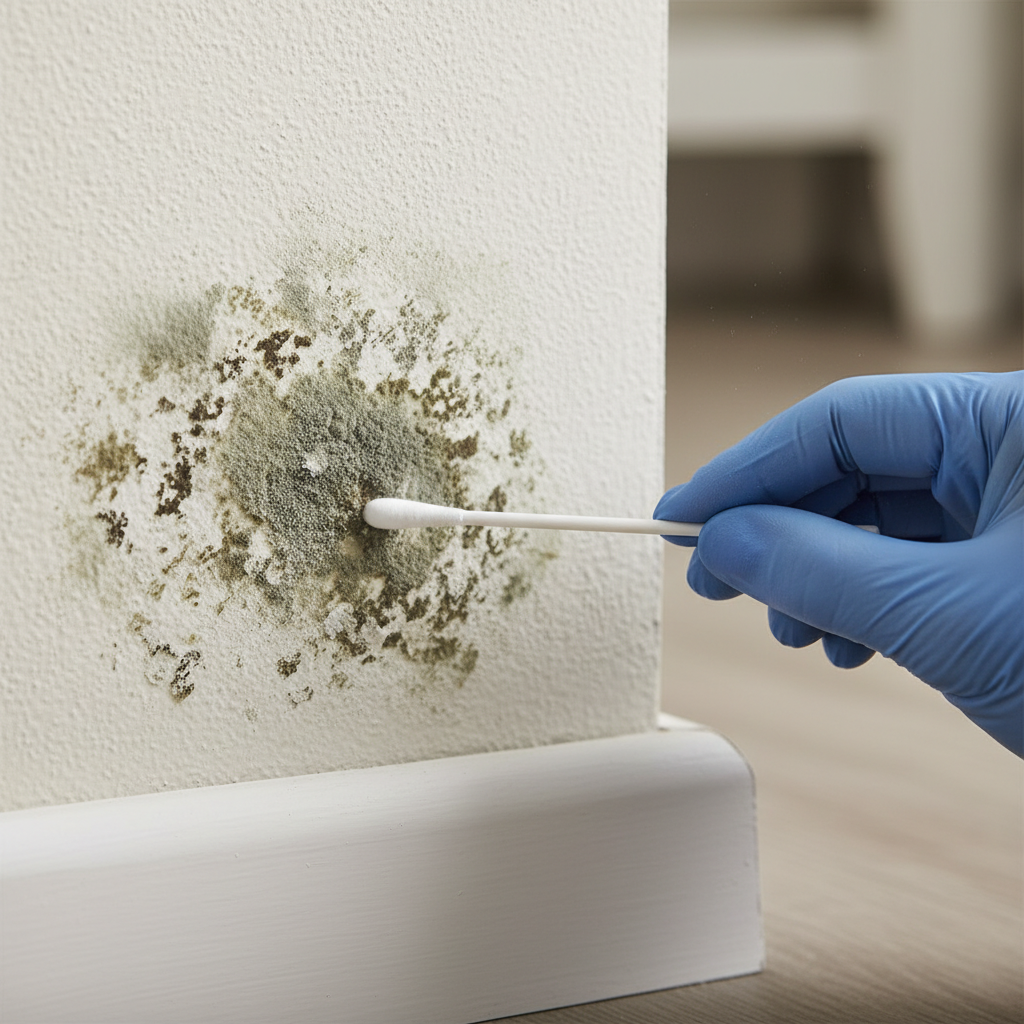
Mould detection is a structured assessment that finds visible and hidden mold, verifies moisture drivers, and defines cleanup scope. Inspectors combine visual checks, moisture meters, thermal cameras, and targeted lab sampling to confirm contamination and design a fix that prevents recurrence.
Here’s the thing: “mold” is the preferred American spelling, but your search might use “mould detection.” We address both—because regardless of spelling, the method is the same. Our Scarborough team prioritizes source-and-cause, translating findings into practical actions you can execute without guesswork.
- Core objective: verify if growth is active, where it is, and why it formed.
- Common sources: roof or plumbing leaks, poor ventilation, and sustained humidity.
- Deliverables: photos, meter readings, next steps for safe removal and prevention.
In our experience, simply “wiping and hoping” invites a rebound. Lasting results come from pairing removal with moisture control and ventilation improvements.
Why mould detection matters
Early mould detection cuts exposure, protects framing and drywall, and reduces disruption. Catching moisture within 24–48 hours limits mold colonization, while addressing humidity below roughly 60% RH helps prevent regrowth in typical indoor conditions.
- Health and comfort: persistent musty odors signal excess moisture and potential spores.
- Building preservation: wet sheathing, insulation, and paper-faced drywall deteriorate quickly.
- Real estate clarity: clean documentation speeds transactions and reduces surprises.
- Business uptime: discreet containment keeps offices and stores operating during work.
We’ve found that measured, evidence-based reports build trust with homeowners, buyers, sellers, and agents. That’s why our projects finish with documented verification and long-term prevention guidance.
How mould detection works (step-by-step)
A complete assessment follows a repeatable path: intake and history, exterior-to-interior walkthrough, moisture and thermal mapping, selective disassembly, and air or surface sampling when results influence decisions. You get a clear, staged plan for remediation and prevention.
- Intake and history: note recent leaks, musty rooms, or symptoms. Identify high-risk zones like attics, basements, crawl spaces, bathrooms, and mechanical rooms.
- Exterior review: assess roof condition, grading, downspouts, and penetrations that admit water.
- Interior walkthrough: look for staining, bubbling paint, deteriorated caulk, and HVAC dust lines.
- Moisture mapping: use pin/pinless meters and hygrometers to quantify wet materials and RH.
- Thermal imaging: scan for cold/wet signatures behind ceilings and exterior walls.
- Selective sampling: take air or surface samples when the data changes scope or documents clearance.
- Reporting: compile photos, readings, and recommendations into a practical action plan.
| Method | What it detects | Best use case | Typical turnaround |
|---|---|---|---|
| Visual + Moisture Meter | Visible growth, damp or saturated materials | Attic sheathing, basement walls, bathroom ceilings | Immediate |
| Thermal Imaging | Hidden moisture patterns behind finishes | Ceilings, exterior walls, below windows and pipes | Immediate |
| Air Sampling | Airborne spores by type and concentration | Exposure questions, hidden contamination, clearance | 24–72 hours (lab) |
| Surface Sampling | Species confirmation on stains or materials | Ambiguous discoloration, litigation, documentation | 24–72 hours (lab) |
When we discover hidden dampness with thermal imaging, we correlate it with meter readings and building history. That triangulation prevents false positives and focuses remediation where it matters most.
Detection methods and approaches
Start with non-invasive tools—eyes, nose, meters, and a thermal camera. Add air or surface testing only when results will change the plan, confirm ambiguous stains, or document clearance. Tie every finding back to a moisture source you can actually fix.
Attics and roof assemblies
- Ventilation balance: soffit intake and roof exhaust must be clear and proportionate.
- Exhaust ducting: bath fans should vent outdoors—not into the attic.
- Sheathing checks: look for darkened panels, frosty nails in winter, and wet insulation.
- Example: In a Scarborough home, a misrouted fan boosted attic RH; redirecting the duct and adding baffles stopped recurrence.
Basements and crawl spaces
- Water tracks: rust at bottom plates, efflorescence, or cove-joint dampness point to seepage.
- Dehumidification: keep RH near 50% in summer to discourage growth on cool surfaces.
- Finishes: paper-faced drywall near slab edges is a recurring risk.
- Example: In Brampton, seepage under stairs caused hidden drywall issues; moisture mapping caught it early.
Bathrooms and kitchens
- Exhaust performance: underpowered fans leave condensation; verify CFM and run time.
- Wet assemblies: failed caulk or grout traps moisture behind tile backers.
- Under-sink leaks: slow drips saturate cabinet bases—often out of sight.
Commercial spaces and HVAC
- Air handlers: dirty coils and pans aerosolize spores; schedule coil cleaning.
- Ceiling plenums: water stains around ducts can hide contaminated insulation.
- Filtration: right-size MERV levels and maintain schedules.
A moisture content reference helps decide when wood is “dry enough” to close. See an example explanation of moisture content analysis to understand how readings inform drying goals.
Best practices for accurate mould detection
Use a consistent playbook: exterior-to-interior, then room-by-room with photos, RH/temperature logs, and meter readings. Calibrate instruments, avoid unnecessary demolition, and document all anomalies. Sampling is decision-driven—not automatic.
- Calibrate and record: verify meters and note serials and settings on reports.
- RH and temperature: track both; a 60%+ RH trend signals risk on cool surfaces.
- Cross-validate: confirm stains with both thermal patterns and meter data.
- Containment readiness: if you must open a suspect cavity, set basic barriers first.
- Photo discipline: capture before/after and all readings to build defensible reports.
Local considerations for Scarborough
- Winter humidity spikes in attic cavities demand proper bath fan ducting and balanced ventilation; frost on nail tips is an early red flag.
- Spring snowmelt and heavy rains stress grading and downspouts; verify discharge away from foundations to protect basements.
- Summer humidity requires steady dehumidification in basements and crawl spaces to maintain RH near 50%.
If you’re managing a listing with a tight timeline, our Ontario-wide same-day response helps you document issues and next steps without delaying closings.
Tools and resources homeowners and managers can use
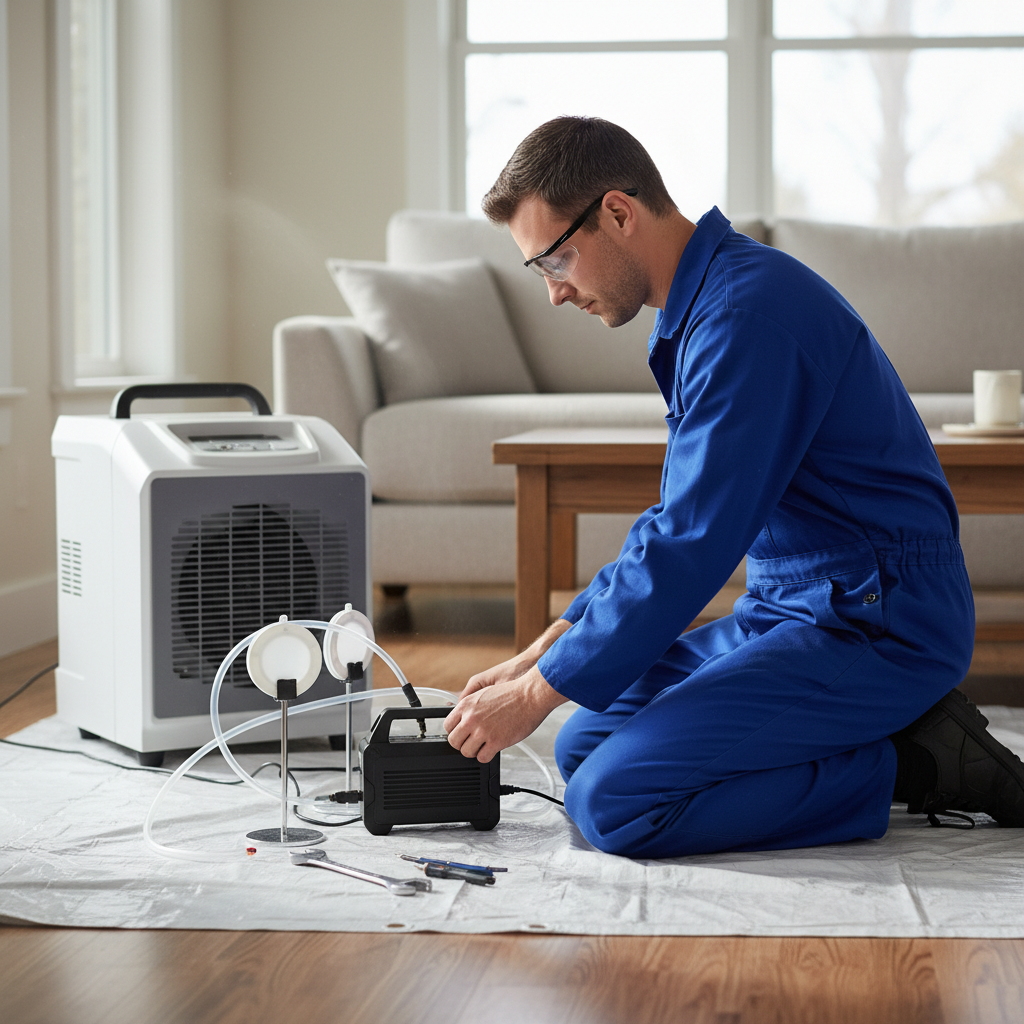
You can monitor basics—humidity and obvious leaks—but professional mould detection relies on calibrated meters, thermal cameras, air pumps, and HEPA-supported containment. Use simple monitors daily and certified specialists when decisions or documentation are on the line.
Simple, reliable homeowner tools
- Hygrometer: track RH; target around 50% in living spaces.
- Thermometer with dew point: great for bathrooms and basements.
- Dehumidifier: run continuously in humid months; clean filters often.
Professional-grade instruments
- Thermal camera: quickly visualizes hidden moisture patterns for targeted checks.
- Pin/pinless meters: quantify moisture in framing, drywall, and sheathing.
- Air sampling pumps: pair with spore traps to assess airborne concentrations.
It’s smart to review a plain-language take on cleaning as context for removal steps. For example, this general overview of mould cleaning outlines basic hygiene concepts that pair with professional remediation protocols.
Need a rapid, documented assessment? Our team starts with a free inspection and moisture assessment. Learn who we are on our About page and reach out via Contact for Ontario-wide, same-day scheduling.
Case examples and outcomes from Ontario
In Scarborough, ON and nearby cities, attics and basements are common hotspots. We map moisture, confirm growth, and fix drivers—like misrouted bath fans, ice damming, or foundation seepage—then remediate under containment with HEPA filtration and eco-friendly, EPA-approved products.
Attic—bath fan exhausting into the attic
- Warning signs: musty hallway, darkened roof sheathing, damp insulation above a bathroom.
- Findings: thermal imaging showed cold, wet sheathing; moisture meter confirmed elevated readings.
- Action: containment, HEPA air scrubber, sheathing treatment, then duct reroute to exterior and added baffles.
- Outcome: post-inspection documented normal readings; prevention plan stopped recurrence.
Basement—seepage at cove joint in Brampton
- Warning signs: efflorescence lines and bubbling paint near the slab-edge.
- Findings: moisture mapping revealed a damp zone behind finished drywall.
- Action: selective demo under containment, disposal of affected drywall, drying, and targeted antimicrobial treatment.
- Outcome: humidity control and downspout changes stabilized the area; documentation supported a smooth home sale.
Office—HVAC distributing contaminants
- Warning signs: musty odor stronger near diffusers; dust streaks on tiles.
- Findings: coil and pan buildup; air samples elevated near returns.
- Action: coil cleaning, pan treatment, filter upgrades, and plenum sanitation after-hours.
- Outcome: measured improvements and low-disruption scheduling kept staff on site safely.
For context on how services are often listed publicly, here’s a generic service listing example. While it’s not guidance, it shows how consumers describe needs—useful when gathering history during intake.
When to test and when to skip testing
Don’t over-test. If growth is visible and the moisture source is clear, proceed with containment and remediation. Use air or surface sampling when exposure is a concern, contamination is hidden, scope is disputed, or documentation is required for clearance.
- Test: hidden sources suspected, health complaints, post-remediation verification, or legal documentation.
- Skip: obvious growth with known moisture; prioritize safe removal and source correction.
- Balance: testing should inform action—not replace it.
We align testing choices with your goals: peace of mind, regulatory needs, or a clear handoff to restoration teams.
Prevention and next steps
Prevention is the payoff: control humidity, correct ventilation, repair leaks fast, and monitor high-risk zones. Pair these with periodic inspections so small issues never become large projects needing invasive tear-outs.
- Attics: verify soffit intake, keep baffles clear, and ensure bath fans vent outdoors.
- Basements/crawl spaces: maintain ~50% RH, address seepage, and keep finishes off the slab where possible.
- Bathrooms: run exhaust fans during and 20+ minutes after showers.
- HVAC: maintain coils and pans; right-size filtration and change on schedule.
Need help prioritizing? Start with a free moisture and ventilation assessment. Visit our homepage for service details or book a same-day slot on our Contact page.
Mid-article CTA — Free Professional Assessment
If you’re noticing musty odors, discoloration, or recent leaks, request an on-site inspection. We’ll document findings, set containment if needed, and give you a prevention plan. Schedule your visit.
Frequently Asked Questions
If you smell musty odors, see staining, or experienced a leak, book a professional mould detection assessment. A quick visual check plus moisture and thermal mapping prevents small issues from turning into large remediation projects.
Do I always need air testing?
Not always. When growth is visible and the moisture driver is obvious, remediation can proceed under containment with verification inspections. Air testing is best for hidden contamination, health concerns, or final clearance documentation.
What are the biggest attic red flags?
Dark sheathing, frosty nail tips in winter, visible condensation, and bath fans discharging into the attic. These point to poor ventilation or roof leaks. A structured inspection confirms scope and the fix.
Is black mold more dangerous than other mold?
Color alone doesn’t define risk. Certain species, often found after chronic water damage, demand careful handling. The right response is the same: control moisture, use containment and HEPA filtration, and remove affected materials safely.
How fast should I act after a leak?
Begin drying within 24–48 hours. If materials stayed wet beyond that window—or if odors persist—schedule a professional inspection to check hidden cavities and plan safe cleanup.
Key Takeaways
Treat mould detection as a measured process: verify growth, find moisture, and act on prevention. A short, structured visit often saves weeks of disruption by eliminating guesswork and stopping mold at the source.
- Start with a professional inspection when you see staining, smell must, or after leaks.
- Use thermal imaging and meters to confirm what walls and ceilings hide.
- Test when results influence scope, exposure, or documentation.
- Pair remediation with ventilation and humidity control to prevent return.
Next steps and local support
Need fast answers in Scarborough or anywhere in Ontario? We offer same-day inspections, detailed reports, and warranty-backed remediation. Book a visit, get clear recommendations, and protect your home or business with proven prevention strategies.
We specialize in attic mold removal, basement and crawl space cleanup, and commercial remediation with minimal disruption. Explore our services on the Asmmoldremoval site and book a same-day slot. Prefer background on our team first? Visit About.
Final CTA: Ready for a documented mould detection assessment? Request a same-day appointment in Scarborough and across Ontario via our Contact page.