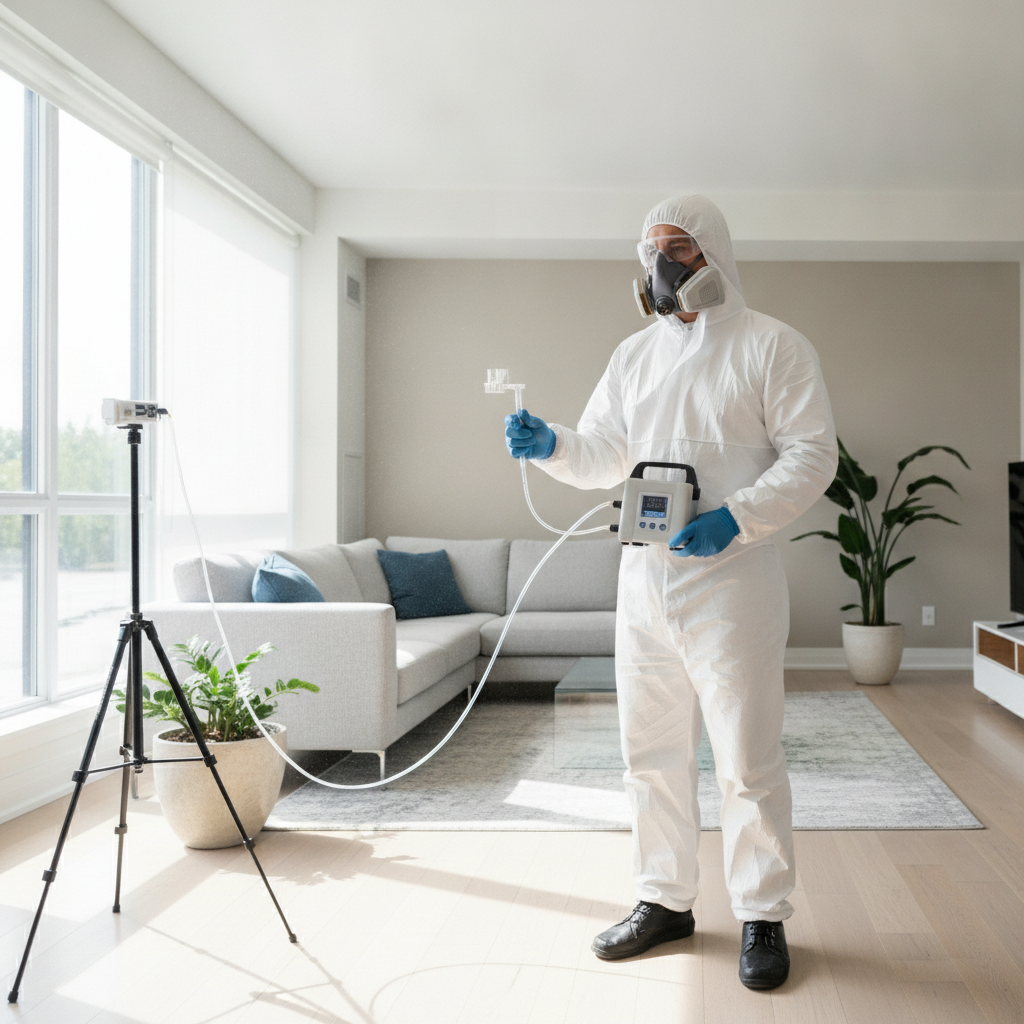
The cost of mold testing is determined by scope, sample count, building size, urgency, and the type of lab analysis required. In Scarborough, a right-sized plan starts with a moisture-focused inspection, then targeted sampling. ASM Mold Removal aligns testing to your home’s conditions, helping you avoid unnecessary add-ons while meeting documentation needs.
Last updated: 2026-06-29
Overview and Quick Summary
Mold testing evaluates air and surface samples to confirm if mold is present, identify types, and quantify levels. A smart plan begins with a visual and moisture assessment, then uses targeted sampling. Expect variable timelines based on lab analysis, and always pair results with remediation recommendations if moisture sources persist.
Mold testing verifies what your nose, eyes, or humidity meter already suspect and translates it into lab-confirmed data. For Scarborough homeowners and Ontario property managers, this guide explains what drives the cost of mold testing, the methods professionals use, and how to get documentation that actually helps with real estate or restoration decisions.
- What mold testing includes (inspection, sampling, and reporting)
- How different methods work and when to use them
- Key factors that influence the overall investment
- Practical steps to keep testing efficient and useful
- Local notes for Scarborough homes and small businesses
ASM Mold Removal Inc. serves Ontario with same-day response, free inspections, and certified, insured technicians. We specialize in attic mold—one of Scarborough’s most common trouble spots due to ventilation gaps and seasonal humidity swings.
What Is Mold Testing?
Mold testing is the process of collecting air and surface samples to confirm mold presence, identify species, and measure concentration. Professionals pair sampling with a moisture assessment to locate the source. Lab results inform whether remediation, ventilation, or moisture control is required to restore healthy indoor conditions.
Mold testing covers two big questions: do you have an indoor air problem, and what conditions are fueling it? Air samples quantify airborne spores; surface swabs or tape lifts identify what’s colonizing materials. Equally important, a moisture investigation finds leaks, condensation, or vapor drive that allow mold to grow again if ignored.
In our Scarborough inspections, we’ve found that attics with underperforming ventilation often show elevated spore counts relative to living spaces. That’s a strong signal to test both the suspected source and occupied rooms to understand exposure pathways and priorities.
Why Mold Testing Matters
Mold testing matters because decisions hinge on evidence. Clear lab data supports remediation scope, verifies cleanliness after work, and supplies documentation for buyers, sellers, insurers, and tenants. Testing also helps distinguish normal outdoor spores from problematic indoor sources driving symptoms and odors.
Evidence changes conversations. A lab-backed report helps you choose targeted fixes—like ventilation adjustments in an attic or drying protocols in a basement—instead of broad, disruptive work. It also offers a baseline for post-remediation verification, so you know when conditions have returned to normal indoor ecology.
Real estate deals and tenant communications benefit from clarity. Reports that pair moisture findings with sample results reduce uncertainty. For insurance and compliance, structured documentation with chain-of-custody can support claims when water damage or sudden leaks are involved. You can also review general insurance documentation expectations in Ontario to understand why proper records matter.
How Mold Testing Works
Professional testing starts with a visual and moisture inspection, then collects targeted air and surface samples under controlled conditions. Samples go to an independent lab for analysis. The final report integrates site observations, moisture readings, and lab data into actionable remediation or prevention recommendations.
Here’s the typical end-to-end flow we follow across Ontario properties:
- Discovery call and scheduling: Capture symptoms, history, and access constraints. Prioritize urgent scenarios like recent water damage.
- On-site visual + moisture assessment: Use pin/pinless meters and thermal imaging to find hidden wet spots, poorly insulated zones, or condensation points.
- Sampling plan: Define how many samples, what types (air, surface, in-wall), and where to place them for a representative picture.
- Controlled collection: Follow chain-of-custody, avoid cross-contamination, and document environmental conditions (temperature, RH, activity levels).
- Independent lab analysis: Microscopy or DNA-based techniques identify genera/species and quantify spore structures.
- Report + briefing: Correlate lab data with moisture findings; outline remediation, ventilation, and prevention steps. When needed, we provide a Mold Remediation Warranty Certificate after successful remediation and verification.
Sampling quality depends on site control. For example, we avoid high-traffic activity right before air sampling because footfall can resuspend settled spores and skew results.

Types and Methods of Mold Testing
Common methods include air sampling (spore traps), surface sampling (swabs or tape lifts), in-wall cavity air pulls, bulk material sampling, and dust DNA analyses. Each answers different questions—air for exposure, surface for identification, cavity for hidden growth, bulk for materials, and dust for history.
Choosing the right mix prevents overspending and under-testing. Below is a practical comparison of core methods we use during Scarborough inspections.
| Method | Best For | Strength | Limitation |
|---|---|---|---|
| Air (spore trap) | Occupant exposure snapshot | Quantifies airborne spores at time of test | Moment-in-time; activity and HVAC cycles can affect results |
| Surface (swab/tape) | Identifying visible growth | Species-level ID on materials | Doesn’t measure airborne exposure |
| In-wall cavity air | Hidden growth behind drywall | Non-destructive check for concealed colonies | Requires careful, sterile drilling and patching |
| Bulk material | Contaminated insulation/wood | Direct assessment of suspect materials | Destructive sampling; localized insight |
| Dust DNA (e.g., ERMI-style) | Historical burden in settled dust | Broad profile of molds over time | Interpretation requires context; not a pass/fail of current air |
In our experience, an attic with visible discoloration on sheathing benefits from surface sampling plus an occupied-room air sample to assess exposure. A musty basement without visible growth may call for air sampling and moisture mapping to find hidden condensation or seepage pathways.
What Drives the Cost of Mold Testing?
The cost of mold testing is shaped by sample quantity, building size, access complexity, urgency, and lab method. Strategic scoping keeps it efficient: focus on the most informative locations, pair sampling with moisture diagnostics, and avoid redundant or low-yield tests that don’t change decisions.
Here’s how we right-size a plan without compromising data quality:
- Scope and sample count: More areas, floors, or rooms typically require more samples to achieve representativeness.
- Property layout and access: Tall ceilings, finished attics, or sealed crawl spaces increase setup, containment, and safety time.
- Moisture and damage extent: Active leaks or saturated materials warrant broader coverage to map impact and prioritize drying/remediation.
- Urgency: Post-flood or real estate deadlines may compress timelines, affecting logistics and lab turnaround.
- Lab methodology: Microscopy vs. DNA-based assays differ in depth and complexity, guiding sample choices.
- Documentation requirements: Chain-of-custody, photo logs, and clearance criteria add valuable structure for claims or transactions.
Across testing industries, scope and method strongly influence lab fees; see this overview on how scope influences lab fees as a general parallel. While that article covers a different field, the principle holds: more complex analyses and bigger sample sets increase lab workload.
Local considerations for Scarborough
- Seasonal humidity swings can elevate attic and crawl space risk. Prioritize ventilation checks and moisture mapping before deciding how many samples to take.
- After spring storms or sudden thaws, schedule testing promptly to document conditions before drying obscures the source pattern.
- For older homes, plan for safe attic access and insulation disturbance controls to keep sampling accurate and low-disruption.
Best Practices for Cost-Efficient, High-Value Testing
To keep the cost of mold testing efficient, start with a moisture-first inspection, test where decisions hinge, control site conditions, and choose an independent lab. Align the sampling plan with your remediation goals so every sample meaningfully informs next steps.
Plan with the end in mind
- Define what decision you’re trying to make: remediation scope, clearance, or documentation for a sale.
- Draft pass/fail thresholds in plain language. For example, target indoor air comparable to a clean outdoor/control sample post-remediation.
- Confirm whether you need post-remediation verification now or only after fixes.
Control variables on test day
- Limit heavy cleaning or moving just before testing; disturbance can inflate airborne counts.
- Run HVAC in its usual setting so results reflect typical occupancy conditions.
- Document temperature and relative humidity alongside sample IDs.
Use accredited, independent labs
- Request chain-of-custody and method notes with results.
- Principles from other testing domains apply—see accredited lab selection tips to understand common quality markers.
- Keep originals of reports for insurers, buyers, or tenants.
When reports correlate moisture sources and lab data, the remediation roadmap becomes straightforward. That’s where value is created—not in more samples, but in the right samples and clear interpretation.
Tools and Resources Professionals Use
Professionals use moisture meters, thermal imaging, HEPA vacuums, air pumps with calibrated flow, swabs and tape lifts, and controlled containment. These tools help pinpoint sources, collect reliable samples, and protect occupants during and after investigation.
Our field kits are built for speed and reliability:
- Moisture meters (pin & pinless): Identify saturated materials and track drying progress.
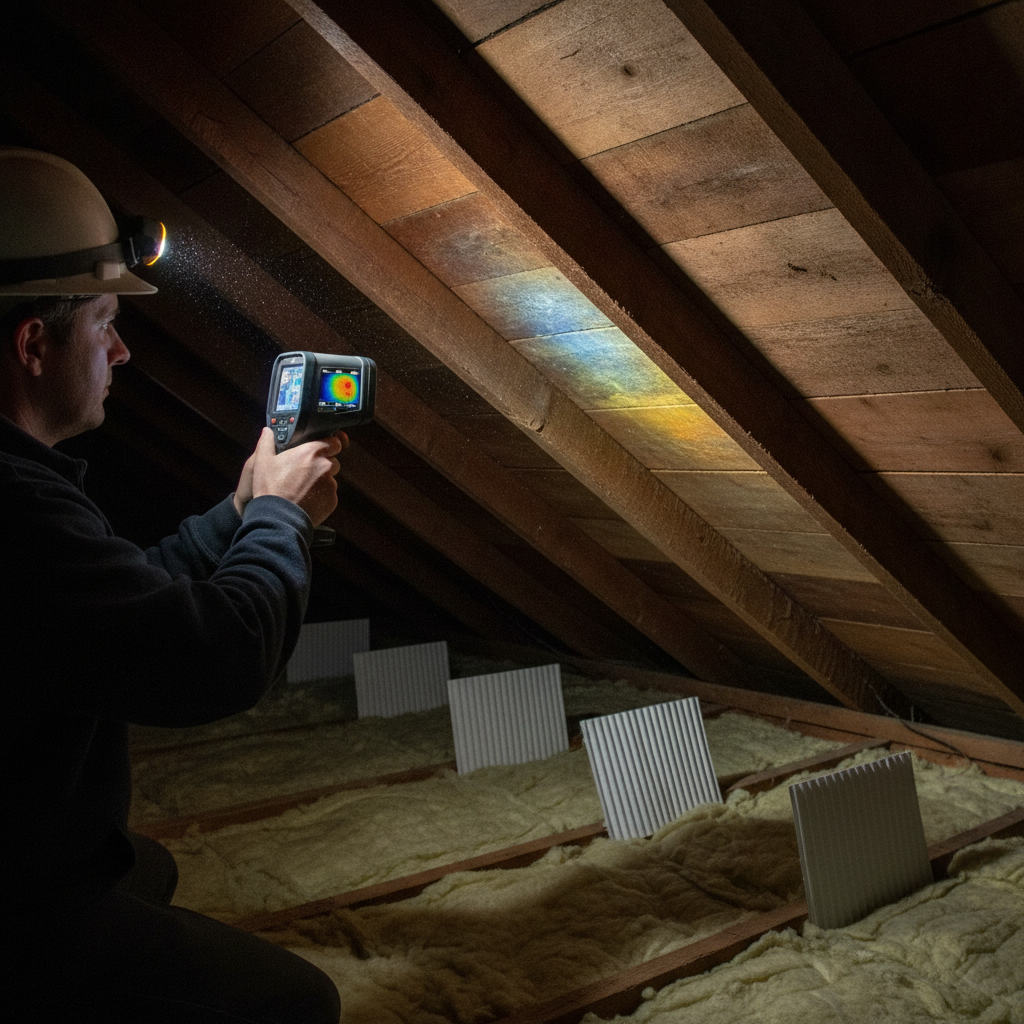
- Thermal imaging cameras: Reveal cold/insulated voids and potential condensation or hidden leaks.
- Calibrated air pumps: Pull known volumes through spore traps for reproducible airborne results.
- Swabs and tape lifts: Collect organisms from surfaces for species-level ID.
- HEPA filtration & containment: Maintain clean conditions if invasive access is required for in-wall checks.
We document every step—photos, locations, environmental conditions—so the final report reads like a narrative of your building’s health. That record is invaluable for insurance discussions and future maintenance planning.
Case Studies: Scarborough and Ontario Homes
Case studies show how a targeted sampling plan reduces testing waste and accelerates fixes. By connecting moisture findings with lab results, we eliminate guesswork, focus remediation, and provide clear documentation for buyers, sellers, and insurers.
Attic ventilation gap in a family home
Scenario: A Scarborough homeowner reported musty odors after hot, humid weeks. Visual inspection found sheathing discoloration and uneven soffit ventilation.
- Plan: Surface sample on sheathing; air sample in attic and primary living area; moisture readings near bath fans.
- Findings: Surface confirmed active growth on sheathing; attic air elevated vs. living space; bath fan backdrafting into attic.
- Actions: Improve ventilation, seal fan ducting, treat affected wood framing, and add baffles—then verify with post-remediation air sample.
Basement seepage after spring thaw
Scenario: A semi-detached property experienced intermittent seepage along one wall. No visible growth, but a persistent earthy odor.
- Plan: Moisture mapping along slab/wall, two indoor air samples, one control sample, and one in-wall cavity pull.
- Findings: Moisture elevated behind baseboards; in-wall air indicated concealed growth.
- Actions: Drying protocol, localized removal, antimicrobial treatment, and drainage improvements; clearance sampling confirmed normal ecology.
Real estate due diligence
Scenario: A buyer wanted assurance that a previously remediated area stayed clean. The report would influence closing timelines.
- Plan: Targeted indoor air comparisons and a couple of surface checks where staining remained.
- Findings: Air comparable to control; no actionable surface growth.
- Actions: Provided documentation supporting the seller’s remediation record and current indoor air normalcy.
Pricing Factors vs. Value (Without Numbers)
Value comes from clarity and actionability, not just more samples. The most efficient testing plans align with decisions you need to make, use the right methods for the building, and deliver documentation that stands up in real estate or insurance contexts—without overspending on redundant tests.
Here’s a practical way to interpret proposals without chasing line-item totals:
- Ask what changes with each sample: If a sample won’t change next steps, it may not be essential.
- Weigh method fit: Surface vs. air, or in-wall vs. bulk—choose methods that answer the right question.
- Check lab independence: Third-party analysis with chain-of-custody improves credibility.
- Confirm reporting detail: Look for moisture context, photos, and plain-language interpretation.
- Plan for verification: If remediation is expected, include a path to post-remediation testing.
Remember, across many testing fields, increased analytical complexity and larger sample sets can elevate fees; that principle is discussed in this primer on how scope influences lab fees. Use the idea, not the numbers, to assess fit.
Frequently Asked Questions
These quick answers clarify common questions about mold testing scopes, timing, and accuracy. For specific guidance in Scarborough, a free inspection helps tailor a plan that balances thoroughness with efficiency and supports your documentation needs.
Do I always need both air and surface samples?
Not always. Air samples capture occupant exposure at the time of testing, while surface samples identify what’s on materials. If you see visible growth, a surface sample may be enough for identification. If you’re assessing exposure or clearance, include air samples for a fuller picture.
How long do mold testing results take?
Turnaround depends on lab workload and methods. Microscopy-based reports often arrive faster than DNA assays. Plan for variability during busy seasons or after regional storms. If you have a real estate deadline, tell your inspector so they can coordinate an appropriate timeline.
Will normal cleaning before testing affect results?
Light, routine cleaning is fine. Avoid heavy vacuuming, sweeping, or moving lots of items right before air sampling, because disturbance can drive up airborne counts temporarily. Keep HVAC in normal settings so results reflect typical living conditions.
When should I schedule post-remediation verification?
After remediation is complete and materials are dry. Your inspector should confirm that moisture sources are addressed first. Then air and sometimes surface samples confirm that conditions meet your agreed-upon clearance criteria.
Key Takeaways
A right-sized mold testing plan focuses on decisions, not just data. Start with moisture mapping, use targeted sampling, control site conditions, and rely on independent labs. The result is a clear, credible report that guides remediation and satisfies documentation needs.
- Anchor testing to a moisture-first inspection for context.
- Choose methods that answer your specific questions.
- Use independent labs with chain-of-custody.
- Plan for post-remediation verification if cleanup is expected.
- Prioritize clarity in reporting for real estate or insurance needs.
Conclusion and Next Steps
If you’re weighing the cost of mold testing, align scope with decisions and insist on moisture context. In Scarborough, ASM Mold Removal offers free inspections and same-day response, helping you move from uncertainty to a clear, documented plan quickly and safely.
Want a precise plan for your home or small business? Book a no-obligation visit. We’ll map moisture, recommend targeted sampling, and explain how remediation or prevention fits your goals. For a fast start, book a free inspection with our certified team today.
Note: Documentation standards vary. For a general sense of insurance paperwork in Ontario, review this overview of insurance documentation expectations. It’s not mold-specific, but helpful for understanding how thorough reports support claims.
Need help deciding what to test? We’ll scope a streamlined plan that answers your questions without redundant samples. Start with a conversation—contact our team.