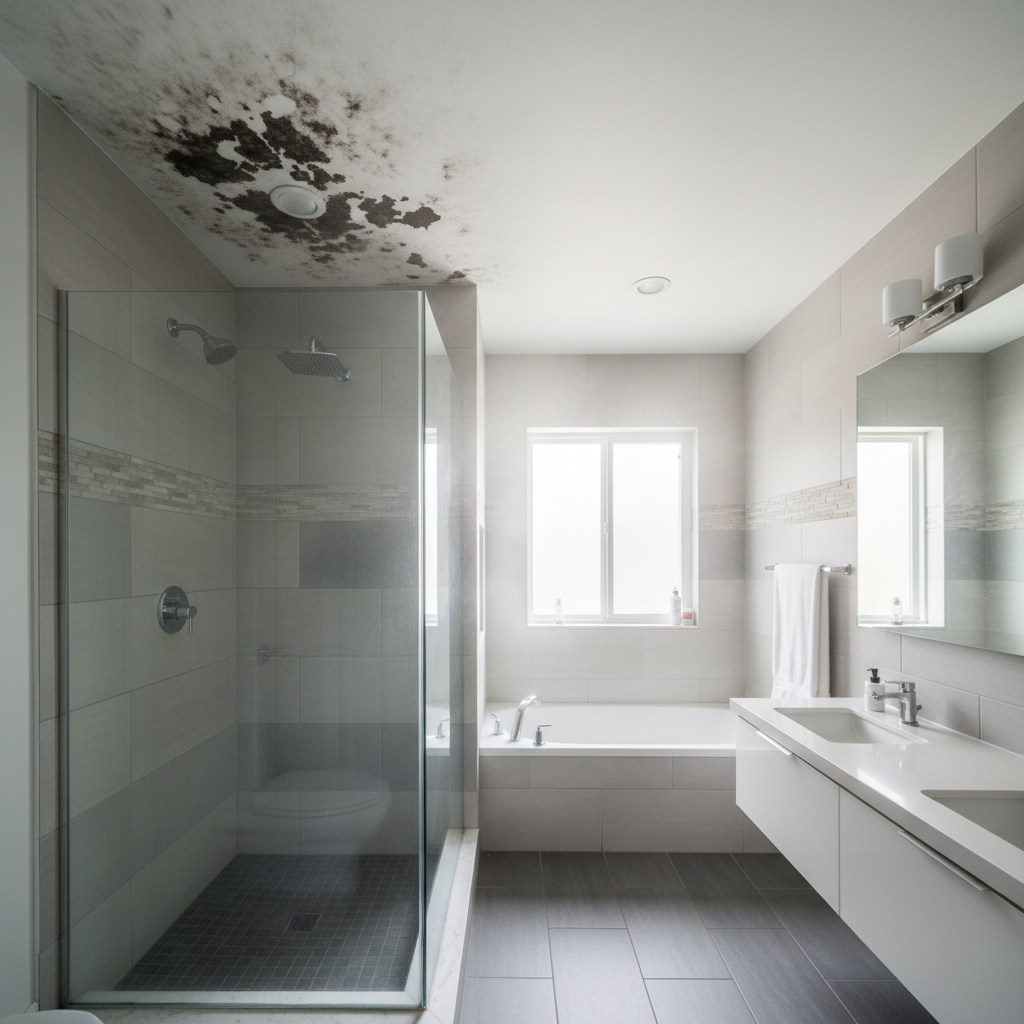
Black mold on a bathroom ceiling is fungal growth fueled by warm steam, poor ventilation, and lingering condensation. It typically shows as dark spotting above showers and can spread within 24–48 hours. If you notice black mould in bathroom ceiling areas in Scarborough, ASM Mold Removal Inc. can inspect, contain, and remediate safely from our 1225 Kennedy Rd base.
By ASM Mold Removal Inc. • Last updated: 2026-06-03
Bathroom Ceiling Black Mold Removal — Fast, Safe, Documented
Bathroom ceiling black mold is best handled by certified pros who fix moisture sources, isolate the room, and remove contaminated materials under negative pressure. Our Scarborough team follows a proven protocol—inspection, containment, HEPA filtration, removal, and prevention—so your bathroom is safer and you receive clear post-remediation documentation.
Your bathroom is a small humidity chamber: hot showers can drive relative humidity over 70%, and underpowered exhaust fans leave moisture on the coolest surface—the ceiling. Left unmanaged, staining spreads, paint blisters, and joint tape shadows appear. We provide Ontario-wide, same-day response to stop this cycle quickly and cleanly.
At a Glance
See dark ceiling spots? Act within 24–48 hours. Increase ventilation, limit steamy showers, and book a certified inspection. Professional remediation removes growth, corrects moisture, and prevents recurrence—protecting your air quality and finishes with documented results.
- What it is: Fungal growth on porous paints and drywall fueled by steam and condensation.
- Why it spreads: Warm, moist air meets a cool ceiling, often above showers and tubs.
- Risks: Irritation for occupants and progressive ceiling damage if ignored.
- Immediate steps: Ventilate, avoid dry-scrubbing, photograph the area, and schedule inspection.
- Outcome: Clean ceiling, moisture control plan, and a Mold Remediation Warranty Certificate.
Introduction: What causes black mold on bathroom ceilings?
Black mold on bathroom ceilings forms where warm, moist air condenses on cool drywall. Without strong exhaust and routine drying, spores colonize paint films and joint compound, staining surfaces and weakening finishes over time.
Here’s the reality—bathrooms regularly spike above 60% relative humidity, and many fans are undersized or run for only a few minutes. Steam rises, the ceiling cools fastest, and condensation lingers on paint and paper-faced drywall. Add a minor leak or clogged exhaust cap, and growth accelerates.
- Common triggers: short fan cycles, long or kinked ducts, missing vapor barriers, or cool attic decks above the bathroom.
- Materials at risk: flat paint, joint compound, paper-faced drywall, and unsealed caulk seams.
- Early warnings: musty odor, stubborn spotting after cleaning, paint blistering, and soft drywall near corners.
Local considerations for Scarborough
- Winter-to-spring swings in ON raise condensation risk; run bath fans 30–60 minutes after showers during cold snaps.
- Freeze–thaw cycles can expose roof cap issues; check bathroom exhaust terminations each season for lint or stuck dampers.
- For time-sensitive transactions, our same-day inspections help Scarborough homeowners document issues for real estate timelines.
Services Offered: Bathroom Ceiling Mold, End-to-End
We deliver inspection, safe removal, and prevention for bathroom ceiling mold. Expect moisture diagnostics, source repair guidance, contained remediation with HEPA filtration, and finish restoration—backed by a Mold Remediation Warranty Certificate on completion.
- Mold Inspection & Testing: Moisture mapping, thermal imaging, and air/surface sampling when indicated. We document readings and findings for clarity.
- Black Mold Removal: Targeted ceiling cleanup or material replacement under negative pressure. HEPA filtration captures 99.97% of 0.3-micron particles.
- Water Damage Restoration: Controlled drying and dehumidification to bring RH to ~40–50%, with repairs for leak-affected assemblies.
- Preventative Treatments: EPA‑approved antimicrobial applications on cleaned substrates and practical ventilation upgrades guidance.
- HVAC/Exhaust Support: We verify airflow, recommend fan CFM sizing, timer controls, and check duct routing to exterior.
- Documentation: Before/after photos, moisture logs, and a Mold Remediation Warranty Certificate upon clearance.
Explore our approach and credentials on the About ASM Mold Removal page, and see how we integrate remediation with repair for fewer handoffs and faster timelines.
The Process: Step-by-Step Bathroom Ceiling Mold Remediation
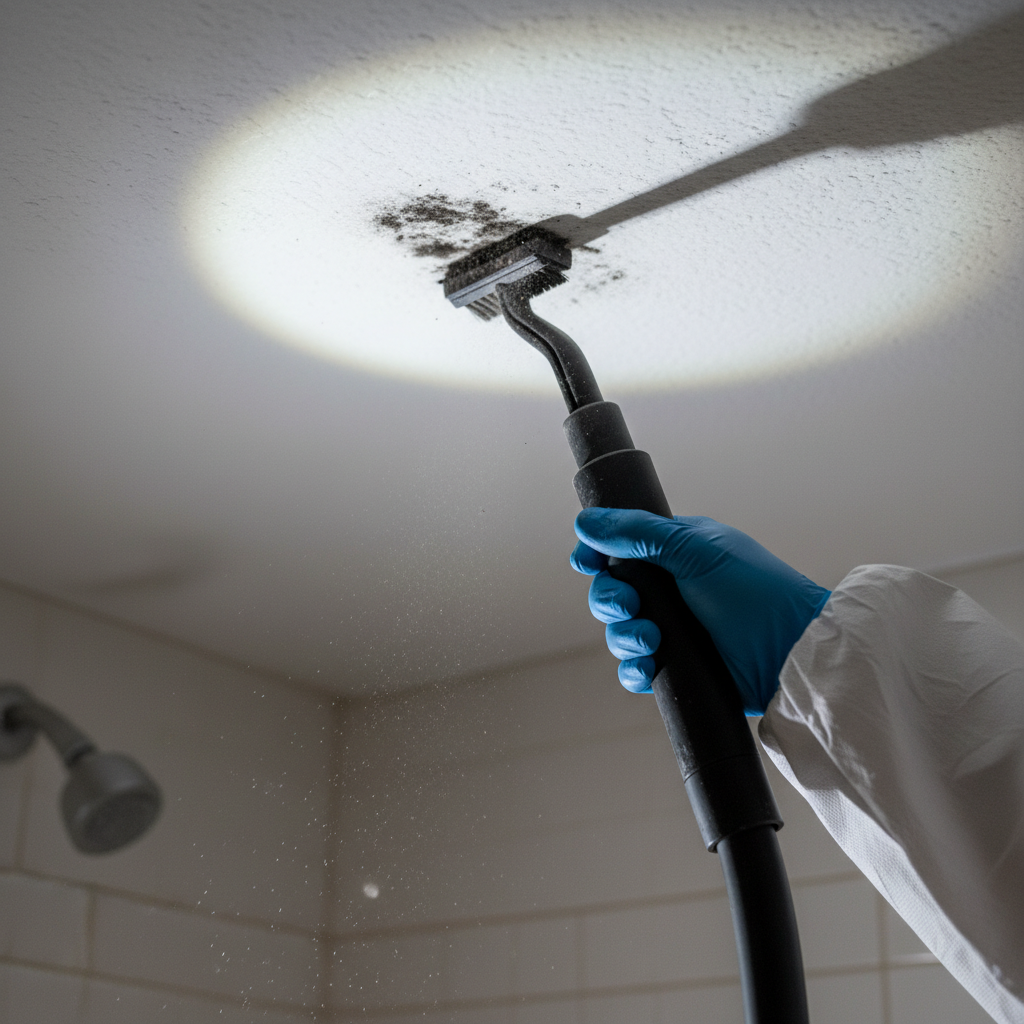
Our process isolates the bathroom, filters the air, removes contaminated material, and corrects moisture drivers. After cleaning, drying, and verification, the room returns to normal use with guidance to prevent recurrence.
Prerequisites (Safety & Setup)
- Limit bathroom use and keep the fan running 30–60 minutes after showers to reduce condensation.
- Avoid dry-scrubbing or sanding; it can aerosolize spores and drive them into other rooms.
- Photograph ceiling stains, vent grilles, and any damp corners for documentation.
- Note leaks, slow exhaust, or ice-dammed eaves above the bathroom for our inspection.
Professional Steps We Follow
- Assess: Visual exam, moisture readings, and thermal imaging to pinpoint wet areas and hidden leaks.
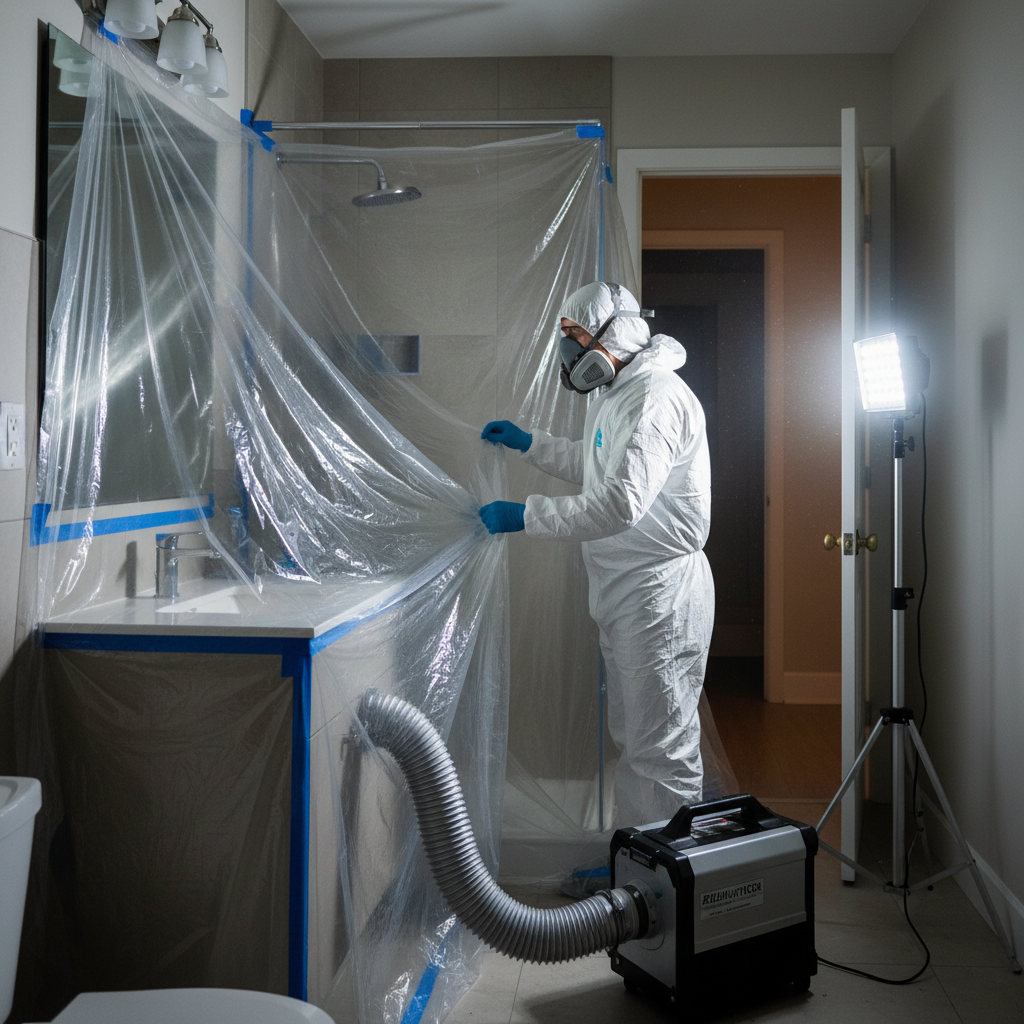
- Contain: Poly sheeting with zipper access and taped registers; establish negative pressure with a HEPA air scrubber (8–12 air changes per hour typical in small baths).
- Protect: Cover fixtures and floors; technicians wear respirators, gloves, and protective suits for safety.
- Remove: Clean or remove affected drywall; double-bag debris; HEPA-vacuum surfaces to control spread.
- Treat: Apply EPA‑approved antimicrobial to framing and adjacent surfaces; address edges and fastener lines.
- Dry: Dehumidify until RH stabilizes near 40–50% and substrates measure dry on a calibrated meter.
- Restore: Patch, prime with stain-blocking primer, and repaint with moisture-resistant, mildew-resistant coating.
- Verify: Post-remediation inspection; provide photos, moisture logs, and a written prevention plan.
| Approach | When It Fits | Pros | Risks |
|---|---|---|---|
| DIY cleaning | Small, surface-only spotting | Quick and simple | Missed moisture, aerosolized spores, short-lived results |
| Professional remediation | Recurrent stains, leaks, soft drywall | Containment, documentation, warranty | Requires controlled access and scheduling |
Need a same-day assessment? Our coordinators can place you on the schedule across Ontario and provide a clear written scope before work begins. Start at our homepage to learn more.
Troubleshooting: When stains keep coming back
Recurring ceiling stains signal unresolved moisture—underpowered exhaust, clogged ducts, attic condensation, or hidden plumbing leaks. Correct the driver first, then remediate. We confirm with moisture meters, thermal imaging, and fan flow checks.
- Fan not moving air: Many 50 CFM fans underperform due to long or kinked ducts. Right-size (often 80–110 CFM for typical baths) and use a 30–60 minute timer.
- Leaky exhaust termination: Stuck dampers or clogged screens push humid air back. Seasonal checks prevent backflow onto the ceiling perimeter—see this leaky ceiling guide for context.
- Attic condensation: Missing insulation above the bath chills drywall; steam condenses, feeding growth. Air-seal and insulate the attic deck above the bathroom.
- Hidden plumbing drip: A slow drip near the shower arm or supply lines stains joints and corners; moisture meters help confirm.
Still unsure which issue you’re facing? A short diagnostic visit can separate surface staining from deeper water intrusion, saving you from repeated repainting cycles.
Estimates, Documentation, and Timelines
We provide free inspections and clear remediation plans. You’ll receive a written scope, timeline, and warranty-backed documentation—so you know what will happen and when. Many bathroom projects finish in a short, scheduled window, depending on drying.
- Transparent scopes: We outline containment, removal, treatment, drying, and restoration steps upfront.
- Moisture targets: We aim for ~40–50% RH and “dry” meter readings on gypsum before priming and paint.
- Real estate needs: Documentation supports buyer–seller disclosures and lender or insurer peace of mind.
Curious about paint systems after remediation? Moisture-tolerant bathroom coatings can add a layer of resilience; learn what to look for in a practical bath paint overview (finish sheen, vapor permeability, and prep still matter most).
Why Choose ASM Mold Removal Inc.
Homeowners choose us for Ontario same-day response, certified containment with HEPA filtration, eco‑friendly treatments, and a Mold Remediation Warranty Certificate. We remediate, restore, and prevent—under one accountable provider.
- Same-day Ontario response reduces spread and limits ceiling damage in the first 24–48 hours.
- Certified, insured technicians follow current remediation standards with negative pressure and HEPA capture.
- Eco‑friendly, EPA‑approved products and occupant-first safety practices.
- Full repair/restoration capabilities minimize handoffs and downtime.
- Warranty-backed outcomes with photos, logs, and final inspection.
Meet our team and methods on the About page, or reach our coordinators through the Contact page for scheduling.
Service Area: Scarborough and Ontario
We serve Scarborough and ON communities with bathroom ceiling mold inspections and remediation. Our local team coordinates access, containment, and restoration around your schedule—minimizing downtime while protecting indoor air quality.
From Scarborough, we dispatch technicians across the GTA and Ontario the same day for urgent issues. Whether it’s a home, condo, or commercial restroom, we align negative pressure, removal, and restoration with your hours to keep life and business moving. For immediate help, start at our homepage or request a slot via Contact.
Mini Case Insights: What we see most
In our Scarborough projects, the top drivers are underpowered fans, attic-side condensation, and small plumbing leaks. Fixing airflow (often 80–110 CFM), sealing the attic plane, and repairing drips yields durable results after remediation.
- Small condo bath: 50 CFM fan, 5-minute run time. Result: recurring corner stains. Fix: 80 CFM fan + 45-minute timer + repaint post-remediation.
- Detached home: Stuck roof cap damper. Result: damp perimeter ring and blistering. Fix: replace cap, remediate, use mildew-resistant coating.
- Townhome: Shower arm seep. Result: hairline ceiling crack with dark edge. Fix: plumbing repair, drywall patch, antimicrobial treatment, repaint.
These quick wins follow the same principle: remove growth, dry thoroughly, and eliminate the moisture driver so the ceiling stays clean. If you’re seeing patterns like these, book a same-day check.
DIY vs. Pro: Know your limits
You can manage tiny, surface-only spots with improved ventilation and careful cleaning, but recurrent staining, soft drywall, or leaks warrant professional containment and remediation. When in doubt, prioritize safety and documentation.
- Okay for DIY: Light surface spotting, no leaks, solid drywall, good airflow after upgrades.
- Call a pro: Musty odor, spreading stains after cleaning, elevated moisture readings, soft or sagging areas, or signs of leaks.
- Tools that help: Hygrometer (aim ~40–50% RH), fan timer (30–60 minutes post-shower), and seasonal checks at the exhaust termination.
Not sure where your case lands? A short inspection provides clarity, a written plan, and options—often the same day in Ontario.
Planning a Bathroom Refresh After Remediation
After mold removal, finalize drying and prime before cosmetic updates. Good ventilation, sealed gaps, and moisture-tolerant finishes extend paint life and help prevent return staining.
- Sequence: remediate → dry to target → prime with stain blocker → paint with moisture-tolerant finish.
- Ventilation: right-size the fan and run it 30–60 minutes after showers; verify exterior termination.
- Details: re-caulk wet joints, seal fan housing gaps, and avoid trapping moisture behind new finishes.
For bathroom planning inspiration, see a practical renovation overview that pairs well with a moisture-first approach. Address structure and airflow before cosmetics for lasting results.
What Homeowners Say
Clients consistently report fast scheduling, clean work areas, and lasting results. They value clear communication and the final warranty documentation that closes the loop for families and real estate deals.
- “They found the shower-arm leak, contained the bath, and we were back to normal quickly—with photos and a warranty.”
- “Our fan was undersized. The team guided an airflow upgrade, cleaned the ceiling, and the stains haven’t returned.”
- “Discreet and tidy. The documentation helped finalize our sale without delays.”
Frequently Asked Questions
These quick answers cover safety, timing, DIY limits, and prevention. If you still have questions, our technicians can assess your bathroom and provide a tailored plan.
Is bathroom ceiling black mold dangerous?
Mold can irritate occupants and degrade finishes. Small spots are often surface growth, but persistent or widespread staining can indicate hidden moisture. Keep the room ventilated and schedule a professional inspection to determine scope and next steps.
Can I just paint over the stains?
Painting without remediation often leads to bleed-through. Proper steps include containment, cleaning or removal, drying to around 40–50% RH, and then priming with a stain-blocking primer before repainting.
How fast does mold grow after a shower leak?
Under the right conditions, growth can establish within 24–48 hours on paper-faced drywall and joint compound. That’s why prompt drying, strong exhaust, and a professional assessment matter.
What prevents it from coming back?
Right-size the fan (often 80–110 CFM), run it 30–60 minutes post-shower, seal leaks, and keep indoor humidity near 40–50%. After remediation, use mildew-resistant paint and inspect the exhaust termination each season.
Key Takeaways
Bathroom ceiling mold thrives on humidity and unresolved leaks. Fast diagnostics, proper containment, and moisture correction keep it from returning. Prioritize airflow (proper CFM) and drying (40–50% RH) to protect finishes and indoor air.
- Address moisture first; then remediate and restore.
- Containment with negative pressure and HEPA capture is critical.
- Target 40–50% indoor RH and adequate CFM fan sizing.
- Document conditions for long-term assurance and real estate needs.
Next Step: Book Your Bathroom Assessment
Noticing black mould in bathroom ceiling areas? Book a same-day inspection. We’ll diagnose the cause, remediate safely, and document the results—so your bathroom stays clean and dry.
Soft CTA: Contact our Scarborough team for a free inspection and moisture assessment. Same-day appointments available across Ontario. Start here: Request an inspection.