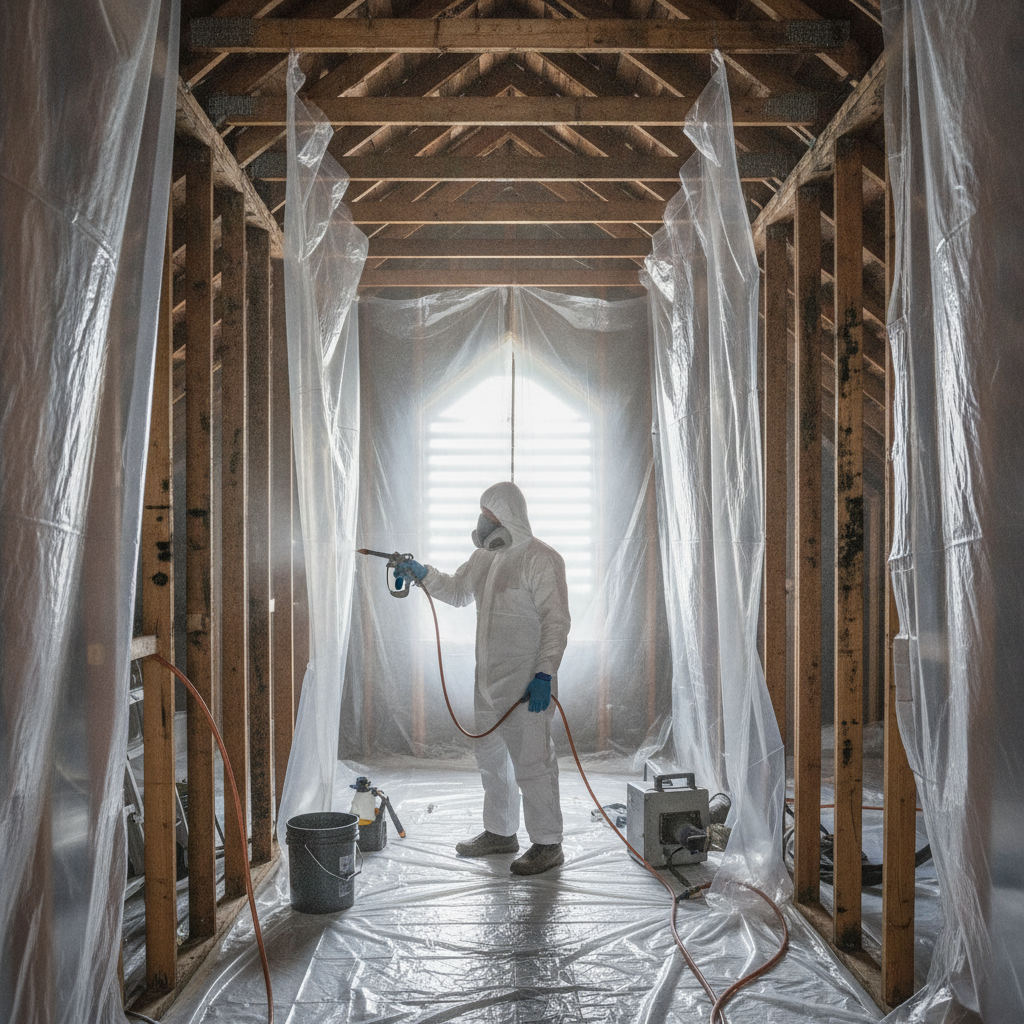
The best way to remove mold from wood is a wood-safe, three-part process: HEPA vacuuming, a borax-based wet clean, and rapid drying back to normal moisture. In Scarborough and across ON, this preserves fibers, limits spore spread, and mirrors the professional approach ASM Mold Removal Inc. uses during attic and framing remediation.
By Amardeep Mamidi · Last updated: 2026-06-14
Overview: At a Glance
Start dry, then wet, then dry again. HEPA vacuum to capture loose spores, scrub with a wood‑safe solution (borax is reliable), and dehumidify to 45–50% RH until the wood’s moisture normalizes. This sequence reduces staining, protects the grain, and helps prevent regrowth when leaks and ventilation issues are fixed.
Wood is porous. Push too much water into it and you feed mold. Skip drying and spores rebound. In our remediation work, we see the dry–wet–dry rhythm consistently outperform quick fixes. Typical targets are 45–50% indoor RH and wood moisture near 12–15% for interior framing prior to closing cavities.
Quick Comparison: Wood‑Safe Mold Removal Methods
Choose methods that preserve fibers and control moisture. For finished and unfinished wood, the safest options are HEPA vacuuming plus borax, mild detergent, or 3% hydrogen peroxide. Reserve sanding, soda blasting, and encapsulation for severe staining, structural wood, or attic sheathing with professional containment.
| Method | Wood Safety | Stain Removal | Odor Control | When to Use | Key Risk |
|---|---|---|---|---|---|
| HEPA vacuum + borax | Excellent | Good | Good | Most unfinished wood | Over‑wetting during scrub |
| Mild detergent + water | Good | Fair | Fair | Light surface growth | Residue, slow drying |
| 3% hydrogen peroxide | Good | Good | Good | Stains on raw wood | Lightening of color |
| White vinegar (undiluted) | Moderate | Fair | Fair | Finished wood spot tests | Odor; possible finish dulling |
| Isopropyl alcohol (70%) | Good (spot use) | Fair | Good | Localized patches | Finish softening |
| Sanding with HEPA containment | Good (aggressive) | Excellent | Good | Deeply embedded stains | Fiber loss; dust spread |
| Soda blasting (pro use) | Good (structural) | Excellent | Good | Attic sheathing/joists | Mess; requires containment |
| Encapsulation primer | Good (post‑clean) | N/A (seals) | Good | After remediation | Trapping moisture if misused |
| Professional remediation | Excellent | Excellent | Excellent | Widespread growth/real estate | DIY delays worsen damage |
In our experience on Ontario projects, HEPA + borax clears most attic sheathing and stud faces when paired with moisture control. For sensitive finishes (handrails, flooring), spot-test a hidden area. Mold can colonize damp wood within 24–48 hours after a leak, so fast drying is critical.
Best Way to Remove Mold from Wood: Our Top Pick
The best way to remove mold from wood is a HEPA vacuum, borax scrub (1 tbsp per 1 cup warm water), and controlled drying to 45–50% RH until wood returns near 12–15% moisture. This balances cleaning power with fiber safety and aligns with professional remediation protocols we use daily.
Why this works: HEPA captures loose spores (99.97% at 0.3 microns), borax disrupts fungal growth without bleaching the grain, and targeted drying starves mold of moisture. We rely on this sequence during attic mold removal and framing cleanups prior to reinsulating or closing drywall.
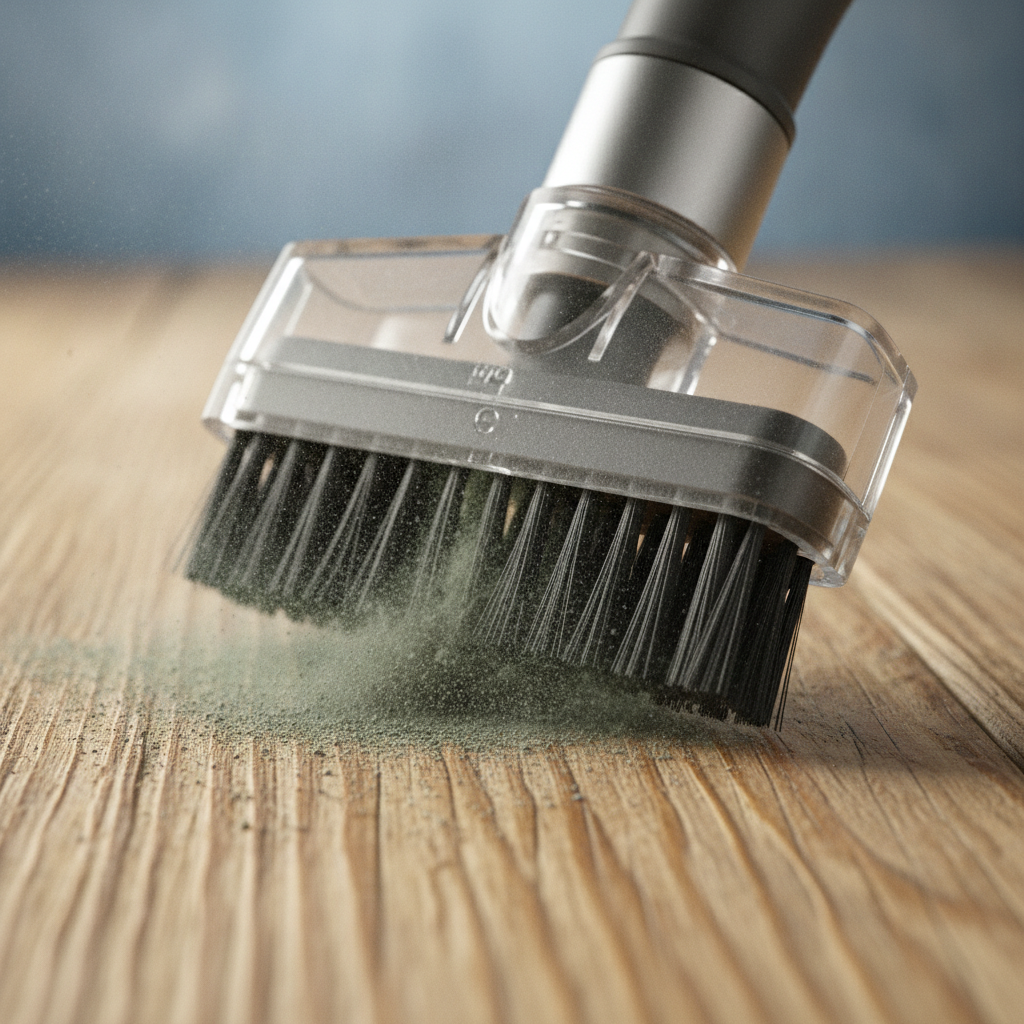
How to do it (step summary)
- Set containment with plastic; wear PPE (respirator, gloves, eyewear).
- HEPA vacuum all surfaces slowly; use brush attachment on grain.
- Mix borax: 1 tbsp per 1 cup warm water; stir until dissolved.
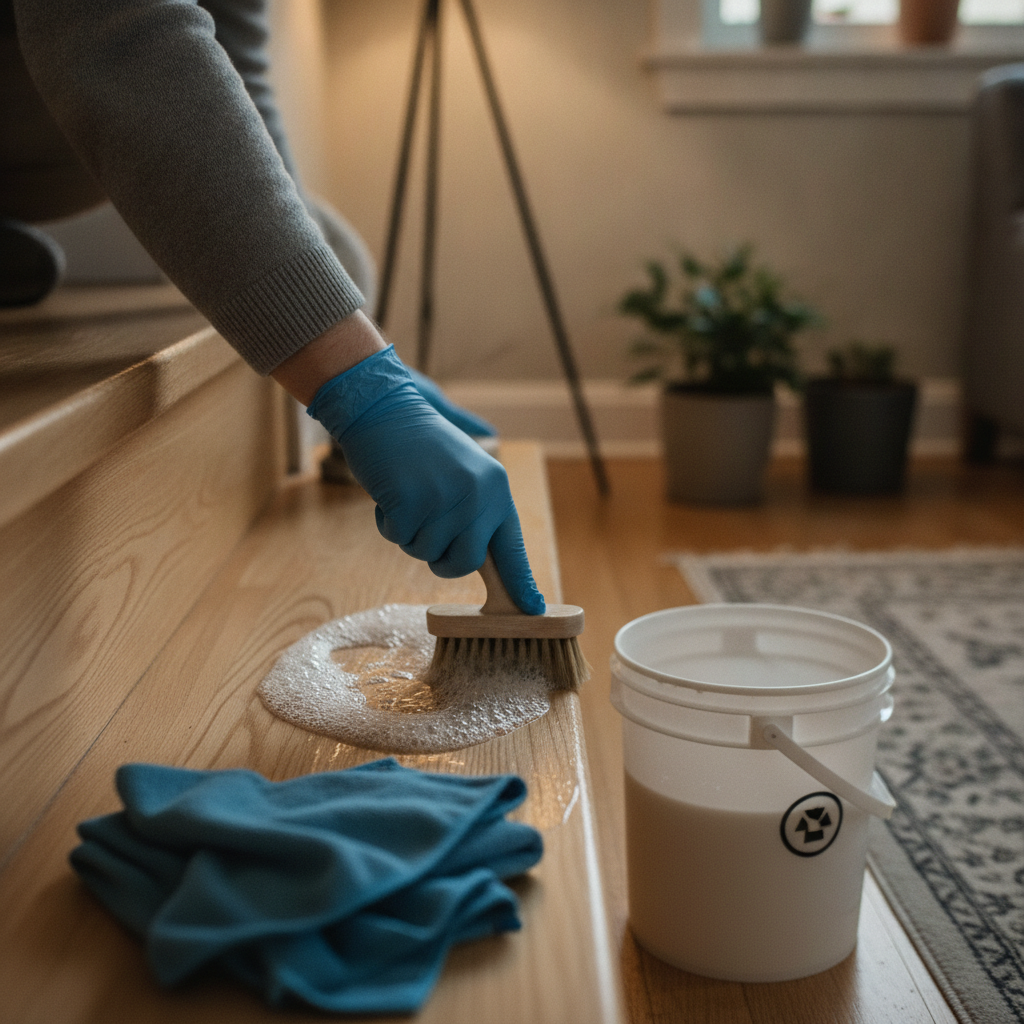
- Lightly dampen a soft-bristle brush; scrub with the grain. Don’t soak.
- Wipe with microfiber; repeat once for stubborn staining.
- Run dehumidifier/ventilation to 45–50% RH; verify wood moisture normalizes.
Before closing up, verify leak sources are fixed and ventilation is adequate. In attics, we often pair this with insulation replacement and baffle/soffit upgrades to prevent recurrence.
Other Effective Methods (#2–#10)
Several alternatives work when chosen wisely for wood type and finish. Detergent, 3% hydrogen peroxide, vinegar, and isopropyl alcohol suit light growth; sanding and soda blasting address deep staining under professional containment; encapsulation locks in residual discoloration once wood is dry and clean.
- #2 Mild detergent + warm water
- Best for finished trim and light film. Use a slightly damp microfiber first.
- Rinse sparingly to avoid swelling; dry immediately with airflow.
- #3 3% hydrogen peroxide
- Spritz, dwell 10 minutes, then wipe. Helps with light staining.
- May lighten bare wood; test on inconspicuous area.
- #4 White vinegar (undiluted)
- Useful on sealed surfaces; odor dissipates as it dries.
- Can dull certain finishes; always spot-test.
- #5 Isopropyl alcohol (70%)
- Evaporates fast; good for small patches and tools.
- Avoid pooling near finishes that soften with solvents.
- #6 Sanding with HEPA containment
- Removes embedded colonies and discoloration on raw wood.
- Use local containment and HEPA extraction to control dust.
- #7 Soda blasting (professional)
- Excellent for attic sheathing/joists with widespread growth.
- Requires negative air machines and cleanup planning.
- #8 Encapsulation primer (post-clean)
- Applies after surfaces are dry and visibly clean.
- Seals residual staining and reduces future odor.
- #9 Professional remediation
- For widespread growth, hidden leaks, or real estate timelines.
- We provide HEPA filtration, full containment, and a Warranty Certificate.
- #10 HEPA air scrubbing with negative air
- Controls airborne spores during cleaning or demolition.
- Common in attic, crawl space, and basement projects.
We routinely combine #10 with #6 or #7 in attics to protect the living space. For finished furniture, methods #2–#5 with gentle application and immediate drying are usually sufficient.
The 7 Mold Removal Mistakes That Ruin Wood
Avoid over‑wetting, harsh chemicals, and poor containment. The biggest wood‑damaging mistakes are soaking the grain, using bleach, skipping drying, sanding without HEPA control, sealing in moisture, ignoring leak sources, and delaying action after water events. Prevent these, and results improve dramatically.
- Soaking the wood: Excess water drives spores deeper and warps boards. Lightly dampen only.
- Using bleach on wood: It can discolor finishes and doesn’t penetrate porous fibers well.
- Skipping the drying phase: Without dehumidification to ~45–50% RH, mold can rebound.
- Sanding without HEPA containment: Spreads spores and fine dust throughout the home.
- Encapsulating too soon: Primers over wet wood trap moisture and create odor issues.
- Ignoring the source: Roof leaks, bathroom humidity, or HVAC issues must be fixed.
- Waiting after a leak: Colonization can begin within 24–48 hours; act quickly to dry.
We encounter these errors weekly in attics and basements. Correcting them—especially controlled drying and leak repair—prevents repeat service calls and protects framing, sheathing, and finishes.
Prerequisites: Safety, Tools, and Setup
Before cleaning, protect yourself and the space. Wear a respirator, gloves, and eyewear. Set light containment with plastic and run a HEPA vacuum or scrubber. Gather borax, soft brushes, microfiber cloths, and a moisture meter so you can verify drying and return wood to normal levels.
Personal protective equipment (PPE)
- Respirator with P100 or N95 filters for light work; tight fit is vital.
- Nitrile gloves and sealed eyewear; long sleeves recommended.
- Disposable coveralls for attic/crawl space work.
Containment and ventilation
- Plastic sheeting and tape to isolate the work zone.
- HEPA air scrubber or negative air machine to control particles.
- Avoid box fans that can blow spores into clean areas.
Tools and materials
- True HEPA vacuum with brush attachment.
- Borax, 3% hydrogen peroxide, mild detergent, microfiber cloths.
- Soft‑bristle and nylon brushes; moisture meter; dehumidifier.
Preparation typically takes 20–30 minutes but saves hours later. In our attic projects, containment and airflow planning often cut cleanup time by a third and keep living areas clean.
Step-by-Step: The Wood‑Safe Cleaning Sequence
Follow a contained, repeatable sequence: isolate the area, HEPA vacuum, apply a wood‑safe cleaner, wipe and repeat as needed, then dry to target RH and verify wood moisture. Finish by correcting leaks and ventilation so the problem doesn’t return in 30, 60, or 90 days.
- Inspect and plan: Identify moisture sources (roof, plumbing, condensation). Choose method based on wood type/finish.
- Set containment: Plastic and negative air, especially for attics and basements.
- Dry first: If materials are wet, begin dehumidification; aim for 45–50% RH.
- HEPA vacuum: Slow passes with a brush attachment to remove loose spores.
- Clean:
- Borax: 1 tbsp per 1 cup warm water; scrub with grain.
- Peroxide: Dwell 10 minutes; wipe; repeat if needed.
- Rinse/wipe: Use a lightly damp cloth; avoid soaking.
- Dry and verify: Run dehumidification; check wood near 12–15% moisture if accessible.
- Address source: Fix leaks, improve ventilation, consider insulation/baffles.
- Encapsulate (optional): Only after clean and dry; follow label dwell and cure times.
Most small projects resolve with one to two passes. Large attics may need sectional work with staged drying and HEPA air scrubbing for particle control.
Troubleshooting: Stains, Odors, and Regrowth
If stains persist, confirm the wood is dry and clean before escalating to sanding or encapsulation. Lingering odors often signal trapped moisture or poor ventilation. Regrowth within weeks usually means a missed leak, high humidity, or thermal bridging that keeps surfaces cool and damp.
- Persistent staining: Try peroxide dwell or targeted sanding with HEPA extraction.
- Musty odors: Check humidity and air movement; consider ridge/soffit balance in attics.
- Recurring spots: Reinspect for roof flashing failures or bathroom exhausts venting into attics.
- Finish damage: Switch to detergent and microfiber; avoid abrasives.
- Wide spread growth: Move to professional remediation with full containment.
We frequently uncover bathroom fans terminating in attics, saturating sheathing during winter. Correcting that routing plus air sealing around penetrations often stabilizes RH and stops repeat mold within a season.
Local considerations for Scarborough
- Spring thaw and summer humidity can spike attic RH; plan for active ventilation and quick leak checks after storms.
- Winter temperature swings create condensation on under‑insulated sheathing; pair cleaning with insulation and baffle improvements.
- Older homes may have limited soffit intake; we often recommend adding baffles and sealing bypasses during remediation.
How to Choose Products, Tools, and When to Call Pros
Pick cleaners that match finish sensitivity and moisture risk. Use True HEPA vacuums, soft brushes, and a moisture meter to guide decisions. Call certified pros when growth is widespread, the source isn’t obvious, occupants are sensitive, or documentation and a remediation warranty are required.
Product selection
- Borax: Reliable on raw wood; leaves a residue that deters regrowth when wiped, not rinsed.
- Peroxide: Good for light stains; may lighten grain.
- Detergent: Safest for finished pieces; always spot-test.
Tool selection
- True HEPA vacuums capture fine particles; look for sealed housings.
- Soft‑bristle brushes protect the grain; nylon for tougher areas.
- Moisture meters verify progress; aim to return wood toward normal.
If you’re preparing for a sale or tenant turnover, involve professionals. Our team follows containment, HEPA filtration, and clearance‑oriented procedures and can issue a Mold Remediation Warranty Certificate on completion and inspection.
Optional Buying Guide: What to Have on Hand
Stock a small remediation kit: True HEPA vacuum, respirator, nitrile gloves, soft brushes, microfiber cloths, borax, 3% hydrogen peroxide, painter’s plastic, tape, and a portable dehumidifier. With these, most light wood mold can be addressed the same day while you dry the space.
- Respirator (P100 or N95) and sealed eyewear
- True HEPA vacuum with brush attachment
- Borax, mild detergent, 3% hydrogen peroxide
- Soft and nylon brushes; microfiber cloths
- Painter’s plastic, tape, and a dehumidifier
When projects evolve beyond this list, it’s usually due to hidden moisture. That’s your cue to call us for inspection and moisture mapping.
Frequently Asked Questions
Most wood mold responds to HEPA vacuuming, a borax or peroxide clean, and drying. If growth is extensive, finishes are delicate, or odors persist, investigate moisture sources and consider professional remediation with containment and HEPA filtration.
What is the best way to remove mold from wood without bleaching the grain?
Use HEPA vacuuming followed by a borax solution (1 tbsp per 1 cup warm water), then dry the area to 45–50% RH. This method protects fibers, limits staining, and prevents rebound when the moisture source is fixed.
Should I use bleach on wooden surfaces with mold?
Bleach is not ideal for porous materials like wood. It can discolor finishes and doesn’t penetrate fibers well. Choose borax, detergent, or 3% hydrogen peroxide and keep the surface as dry as possible during cleaning.
How do I know if the wood is dry enough after cleaning?
Use a moisture meter if available. For most interior framing, readings near 12–15% are typical targets. Also monitor indoor RH at 45–50%. If odor persists or readings climb, investigate hidden leaks or ventilation issues.
When should I call a professional mold remediation company?
Call when growth is widespread, you can’t find the moisture source, occupants are sensitive, or you need documented clearance. We provide same‑day inspections across Ontario and issue a Mold Remediation Warranty Certificate after completion and inspection.
Our Methodology for Ranking Wood Mold Removal Methods
We rank methods by wood safety, effectiveness, and prevention value. Approaches that preserve fibers, control moisture, and support long‑term stability score highest. Techniques that risk over‑wetting, fume exposure, or dust spread rank lower unless done under professional containment.
- Wood safety: Minimizes swelling, discoloration, and fiber loss.
- Effectiveness: Removes visible growth and reduces staining.
- Prevention: Drives RH to 45–50% and returns wood toward normal moisture.
- Containment: Controls particles with HEPA and negative air.
- Feasibility: Realistic for homeowners versus pro‑only tactics.
These criteria mirror our attic, basement, and crawl space remediation standards and align with documentation needs during sales and refinances.
Conclusion and Next Steps
The best way to remove mold from wood keeps water out of the grain and moisture out of the air. Pair HEPA capture with a borax scrub and controlled drying. Fix leaks and ventilation, then encapsulate if needed. If growth is widespread, bring in certified pros for containment and clearance.
- Key takeaways:
- Dry–wet–dry beats quick fixes and preserves wood.
- Target 45–50% RH and near 12–15% wood moisture.
- Avoid bleach, over‑wetting, and uncontained sanding.
- Address sources—leaks and ventilation—so mold doesn’t return.
- Action steps:
- Gather PPE, HEPA vacuum, borax, and a dehumidifier.
- Follow the sequence; verify dryness before closing cavities.
- For attics and widespread issues, book a same‑day inspection.
Want a pro to confirm your plan? See our Ontario‑wide remediation services and learn about our process and standards. We serve Scarborough and the GTA with containment, HEPA filtration, eco‑friendly treatments, and a Mold Remediation Warranty Certificate.
Need help fast? Our certified team offers Ontario same‑day response, free inspections, and moisture assessments. Start by requesting an inspection.
For deeper reading on moisture verification and building science context, see this overview of moisture content analysis and a general primer on mould cleaning approaches. For finishes in damp rooms, moisture‑resistant coatings like certain kitchen and bath paints can help once surfaces are dry (moisture‑resistant paint overview).